Cutting the Veneer Miter
I machined a slot in a Corian scavenger surface which has been permanently mounted on my CNC and machined flat. I can slide my veneer stack into this slot for easy machining of the miter. The two veneer clamps can be reversed, depending on veneer thickness, to insure that the area being machined is held securely.
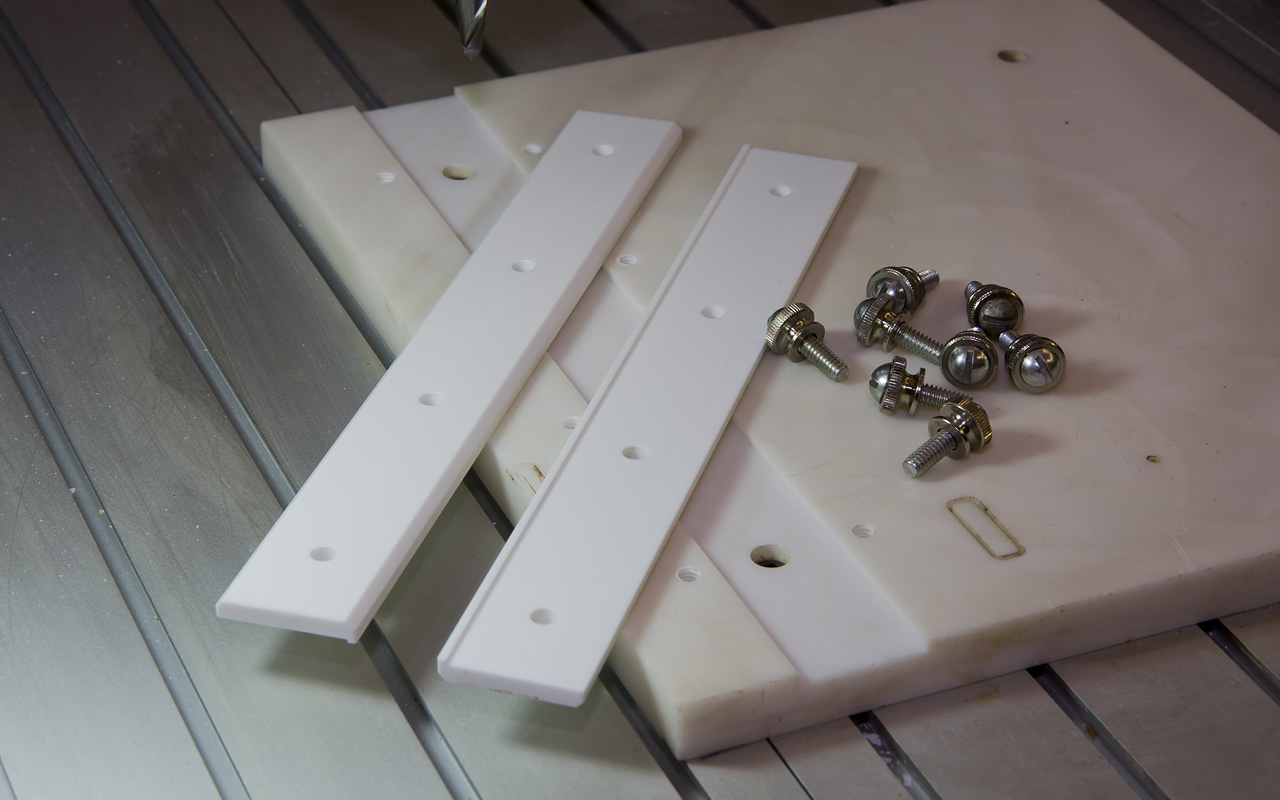
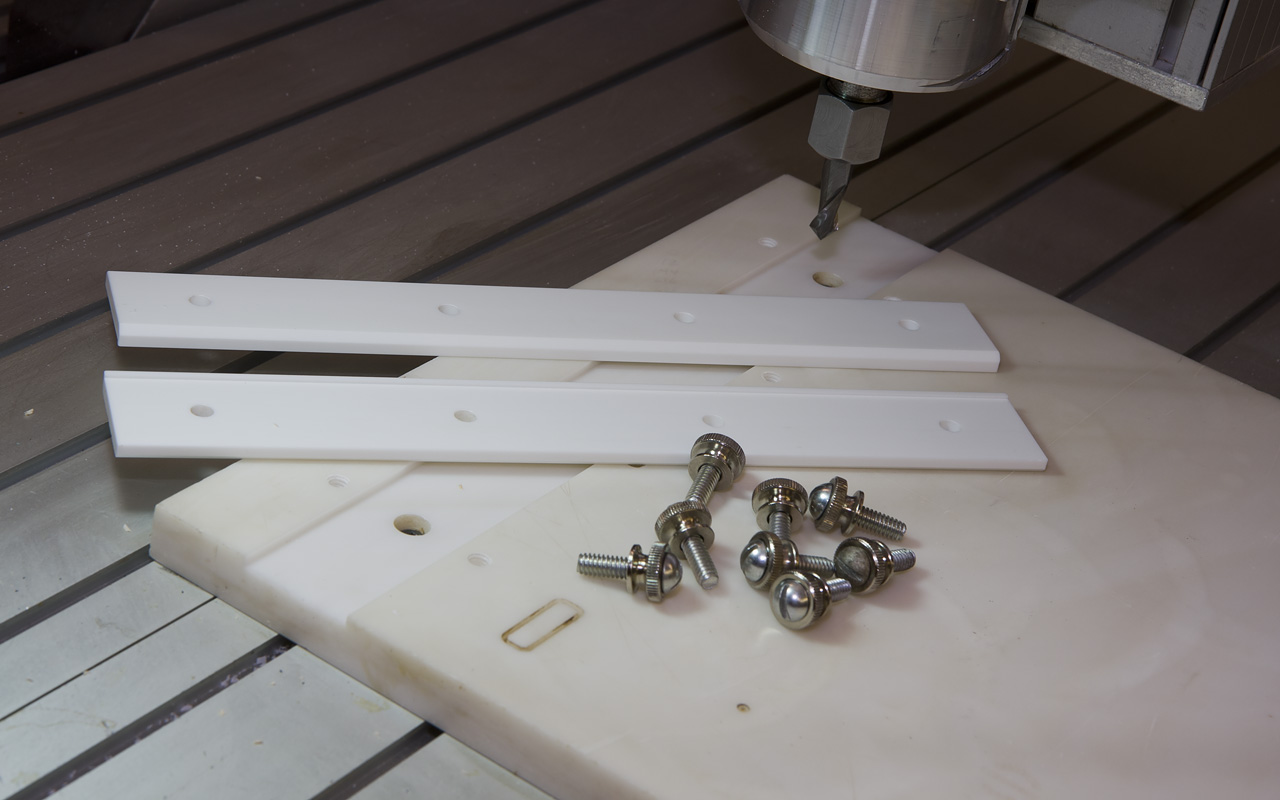
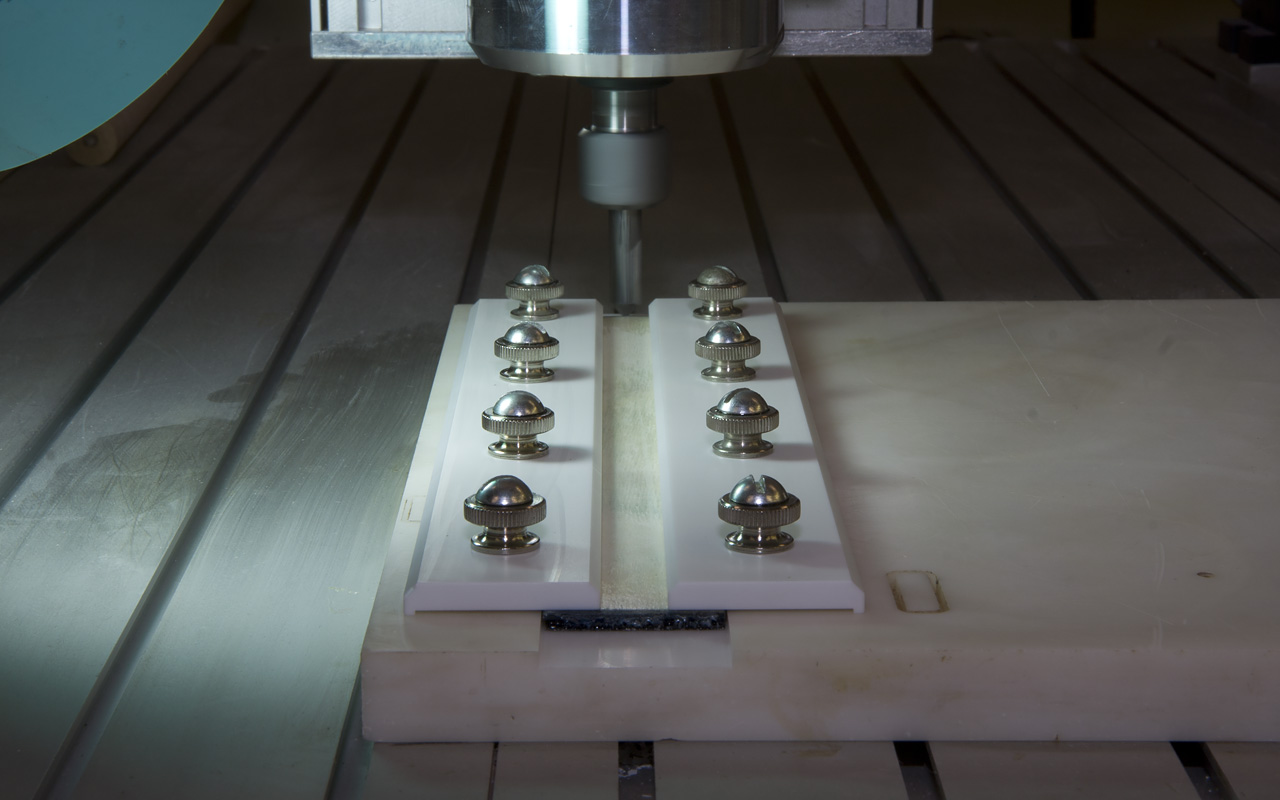
This shows the slot in the scavenger surface, the clamps and the thumbscrews. The holes in the middle of the slot secure the scavenger surface to my CNC machine. It is never removed. Pay no attention to the false cuts.
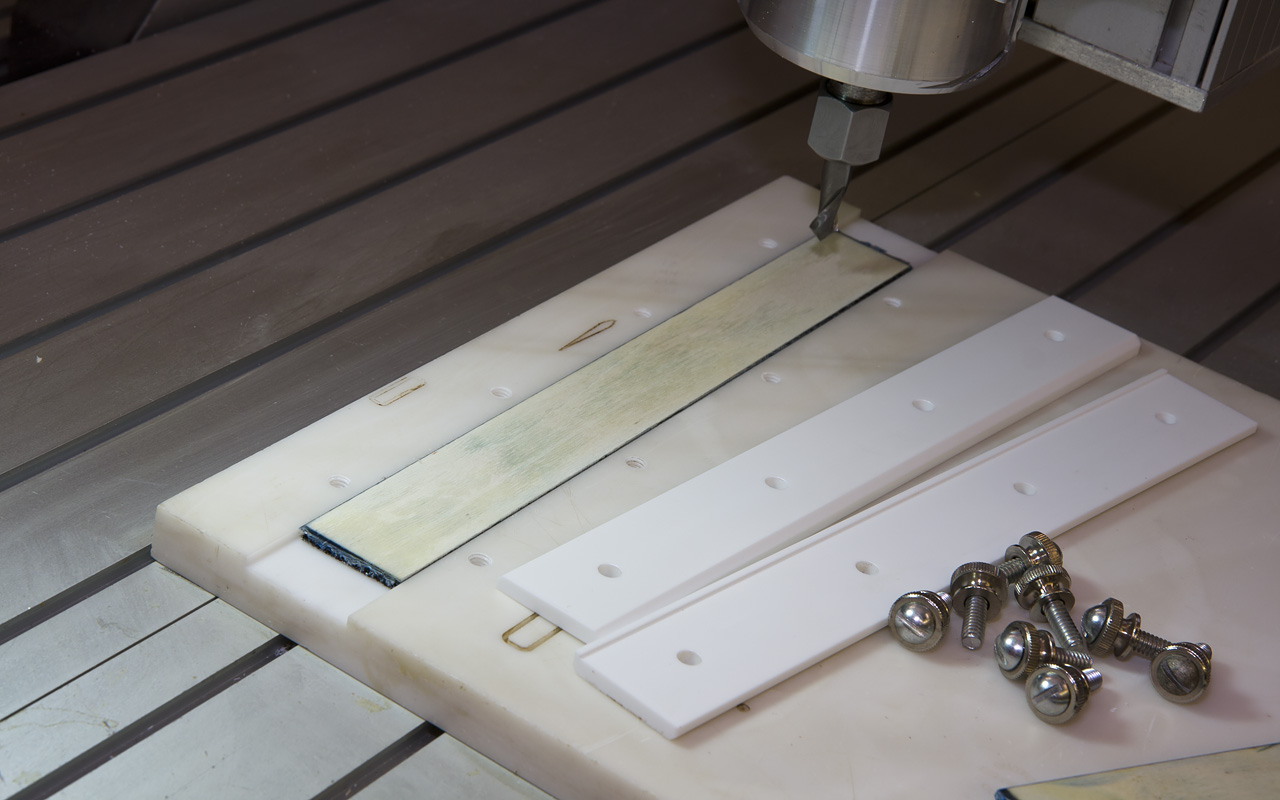
A veneer stack is slid into the slot. In this series of pictures, the clamps are not installed for clarity's sake. Normally the clamps are never removed. When the miter is cut, the thumbscrews are loosened and a fresh veneer stack is slid into place, which pushes out the just-machined veneers.
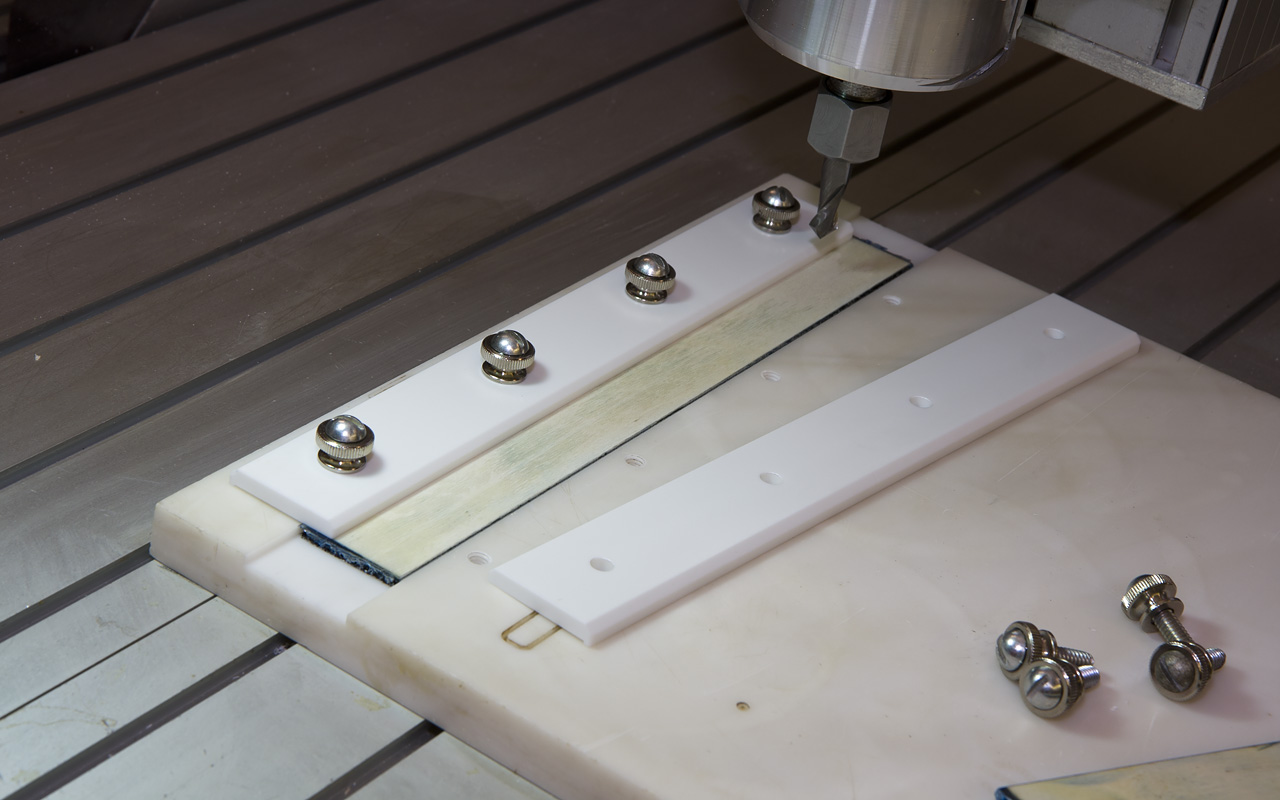

First one, then both clamps are installed & screws snugged down.
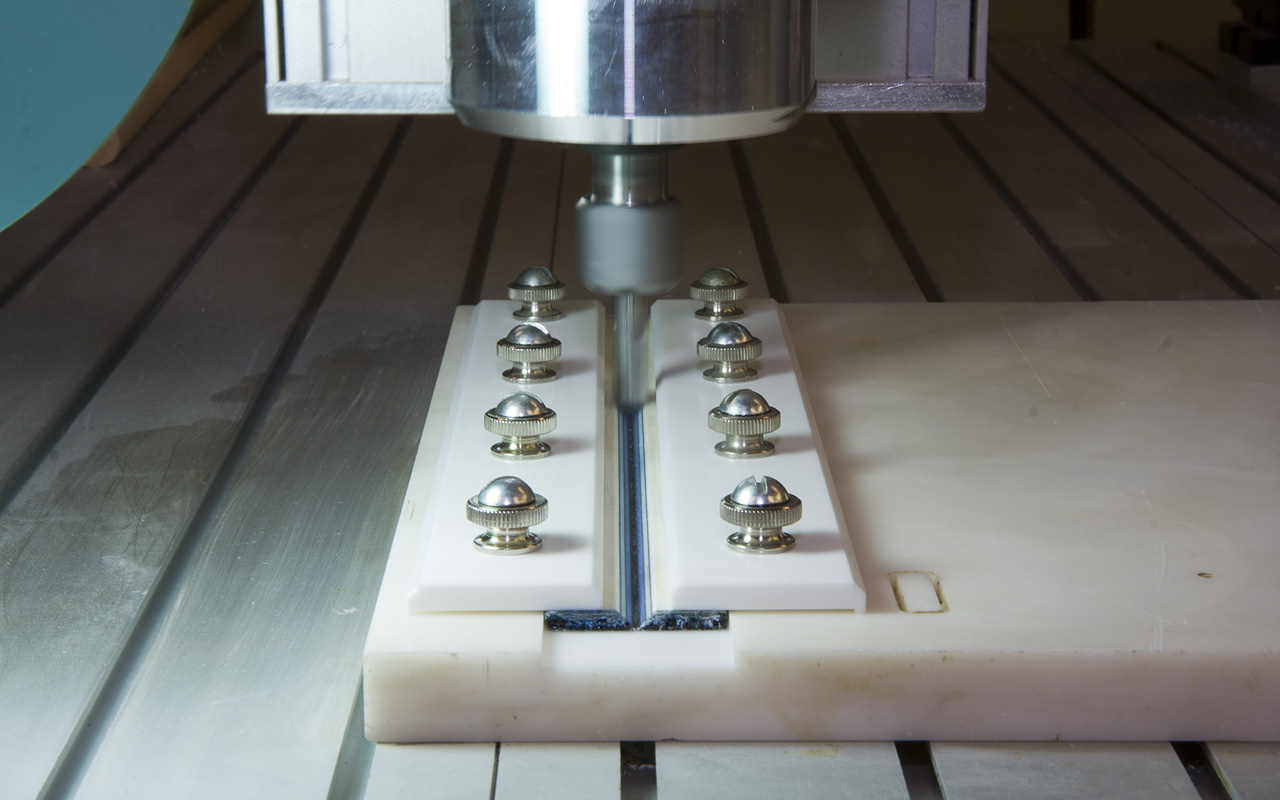
Ready to cut, then halfway through the cut.
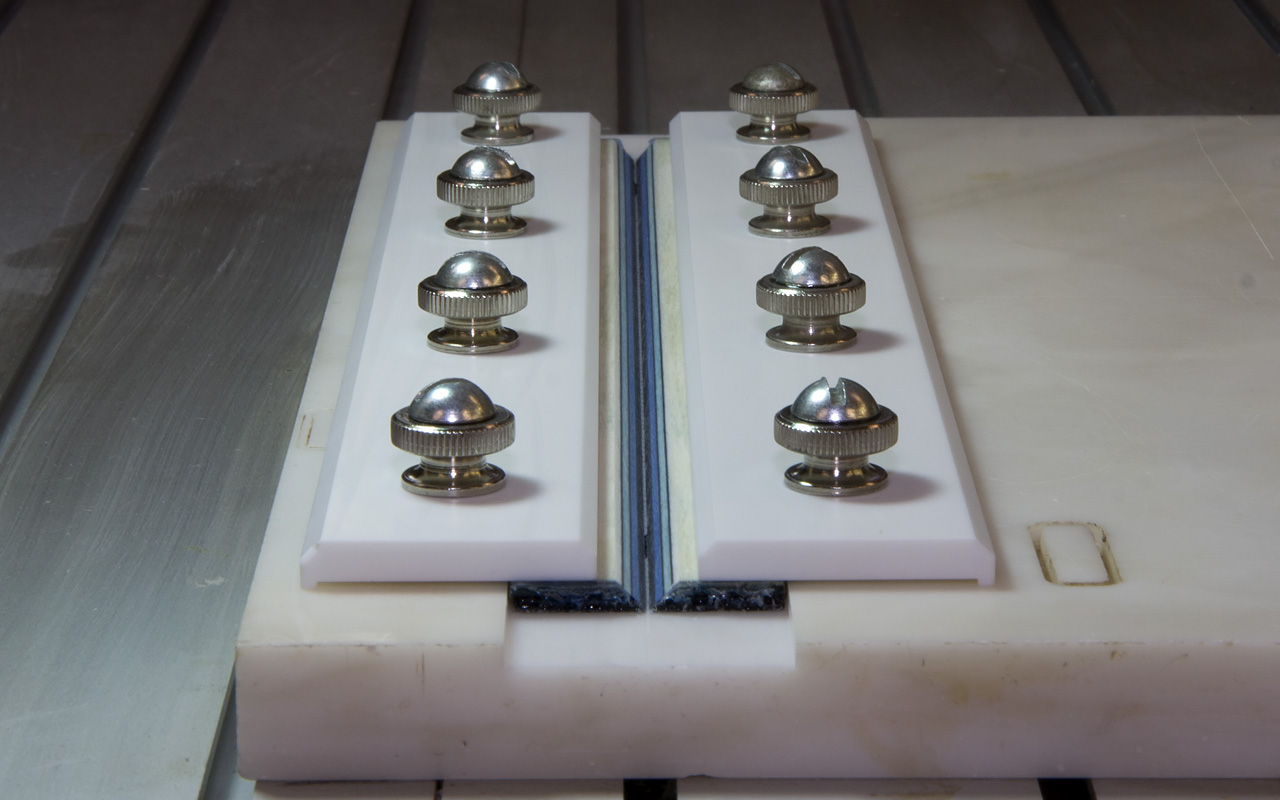
And here's a set of veneers with a perfect miter.
This setup can be used on a bench top mill. Or...with a few simple mods, flip it over & use it on a router table
Page 3 shows how the mitered veneers are glued, then sawed to the rough configuration needed before being assembled into the V-grooves in the forearm.