Micarta and its Relatives
And now, a word about Micarta...
(and, please keep in mind that Micarta is a brand name that has come to be recognized when describing ANY of the reinforced phenolic or epoxy based composites available, whether made by Westinghouse, GE or another manufacturer - much like the way people ask for Kleenex when all they really want is a tissue.)
A long time ago, in a world where asbestos wasn't a dirty word, there existed an insulator made by Westinghouse called Micarta. It was (depending on who you talk to) either an asbestos fiber reinforced epoxy resin (IMO, the real thing) or a paper based phenolic resin that was used in the electrical industry. Some cuemakers found that the reinforced product resembled aged ivory and withstood the rigors of a game of pool - making it perfect for ferrules. It was strong, cheap and available. Then along came the EPA and Micarta, as the pool world knew it, disappeared. Many years later, as aging pool players reminisced, memories of sharper skills, dancing cue balls & seldom missed balls caused these former world beaters to wonder why they could no longer play like they did in days of yore. Since the fault couldn't possibly lie in their own abilities, it had to be the equipment they were using. But what was different? Of course! It had to be the Micarta that was no longer available. If only they had that old Micarta, they could once again be the players of their memories.
And so, despite the plethora of new materials produced today, there is still the quest for that which was once, but is no longer, available. The mythical qualities attributed to Micarta have given rise to an almost cult-like following of this mystical material. And fortunately, thanks to the miracle of eBay, anyone can now own this Holy Grail of ferrules. That is...if you're rich. It is pretty pricey, of course. And it usually doesn't resemble the Micarta of the past. But it WAS made in many different formulations so if it's yellow & reinforced, it can probably safely be called Micarta. I guess.
An enterprising cuemaker, Mason Houghland, was able to find a linen based epoxy with a yellowish tint. He started marketing it as "Mason's Micarta", hoping to capture those who miss the real Micarta. He claims that is stronger than LBM and slightly lighter in weight, thereby minimizing squirt. The tubing is rolled rather than sheet and is free of pits & debris. It costs a bit more than the standard materials but makes a nice ferrule. Mason no longer sells it but there are at least 2 other suppliers who make it readily available.
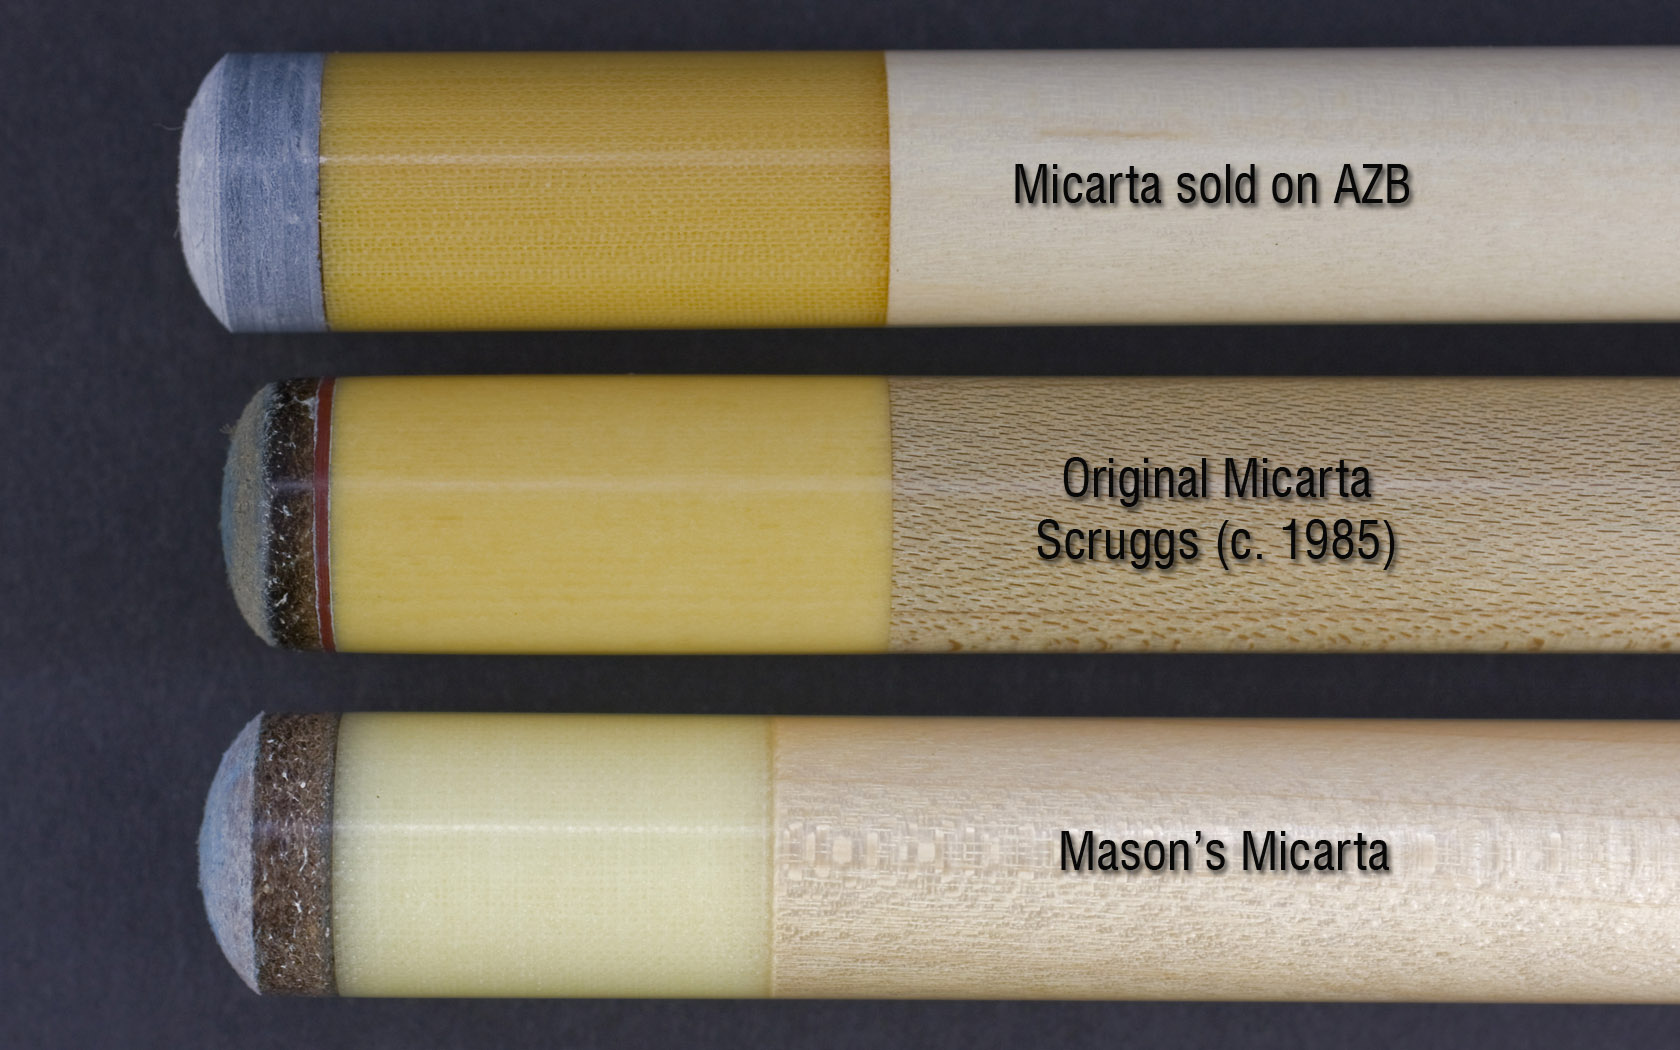
Below is a picture of a material sold as the original Micarta, that is definitely linen based. Below it is a Scruggs ferrule that is the original Micarta and is definitely not linen based. And on the bottom is Mason's Micarta. Now let me be clear here: all 3 of these materials hit very nicely. But they are obviously different materials. And since I have nothing better to do, I feel an obligation to present this information to the general public. I have no axe to grind nor do I have any conflict of interest but I am asked about the differences in these materials almost weekly. This picture shows the differences very clearly.
--------------------------------------------------------
Below, I will show the steps taken to make a ferrule from REAL MICARTA that was obtained in block form. This will be built with construction techniques similar to those used when the material was available.
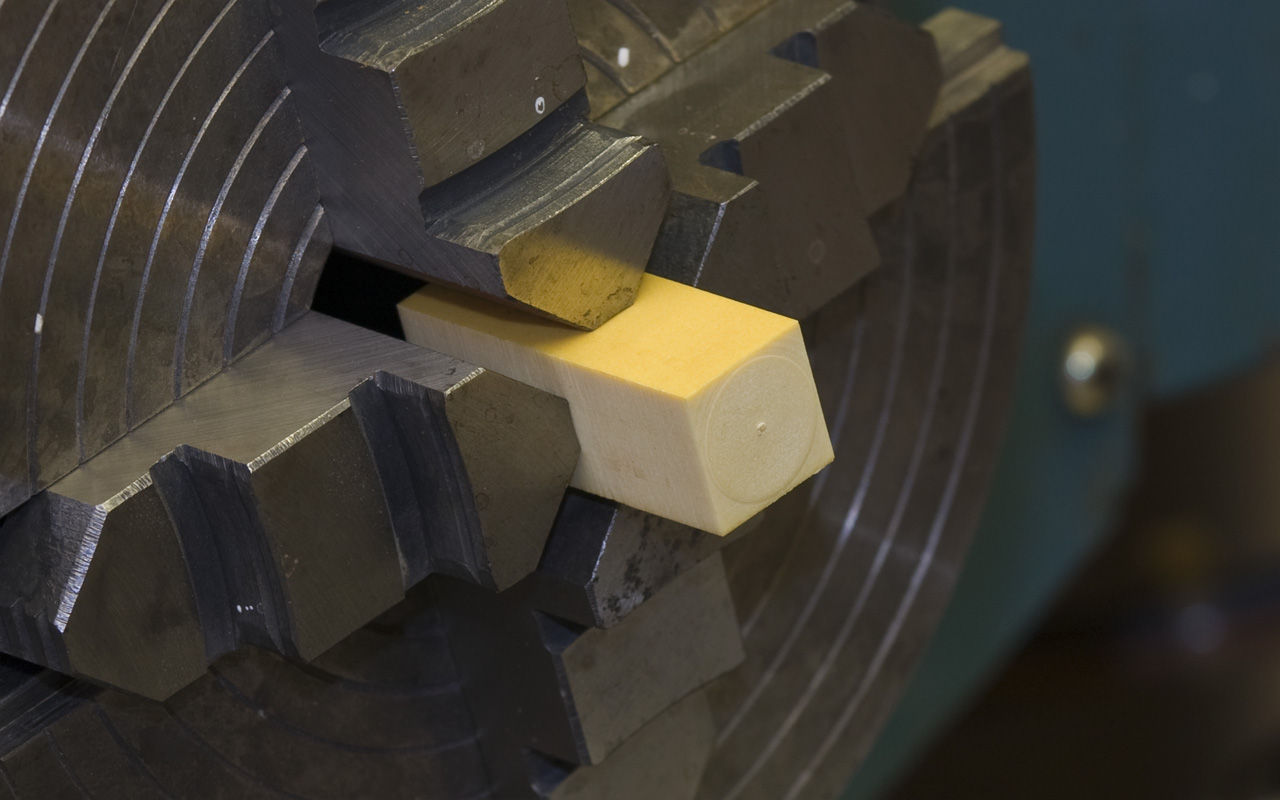
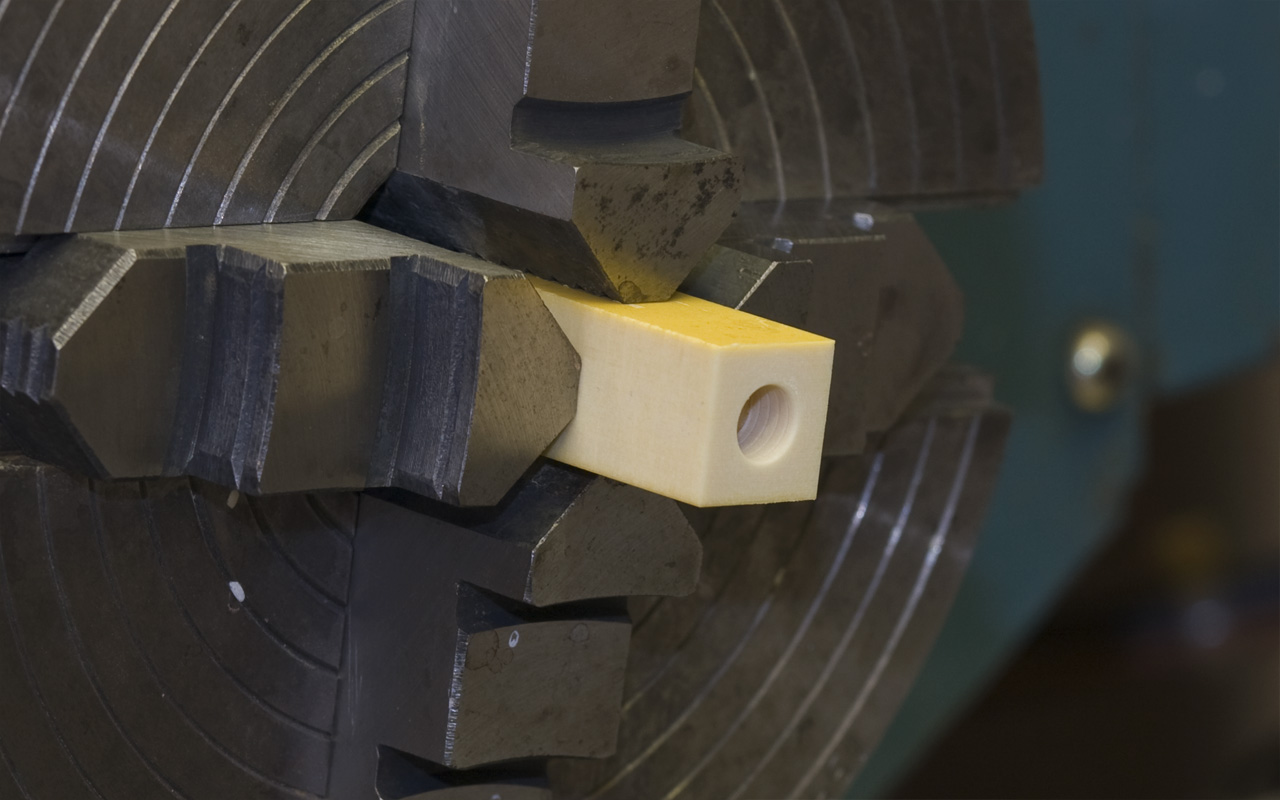
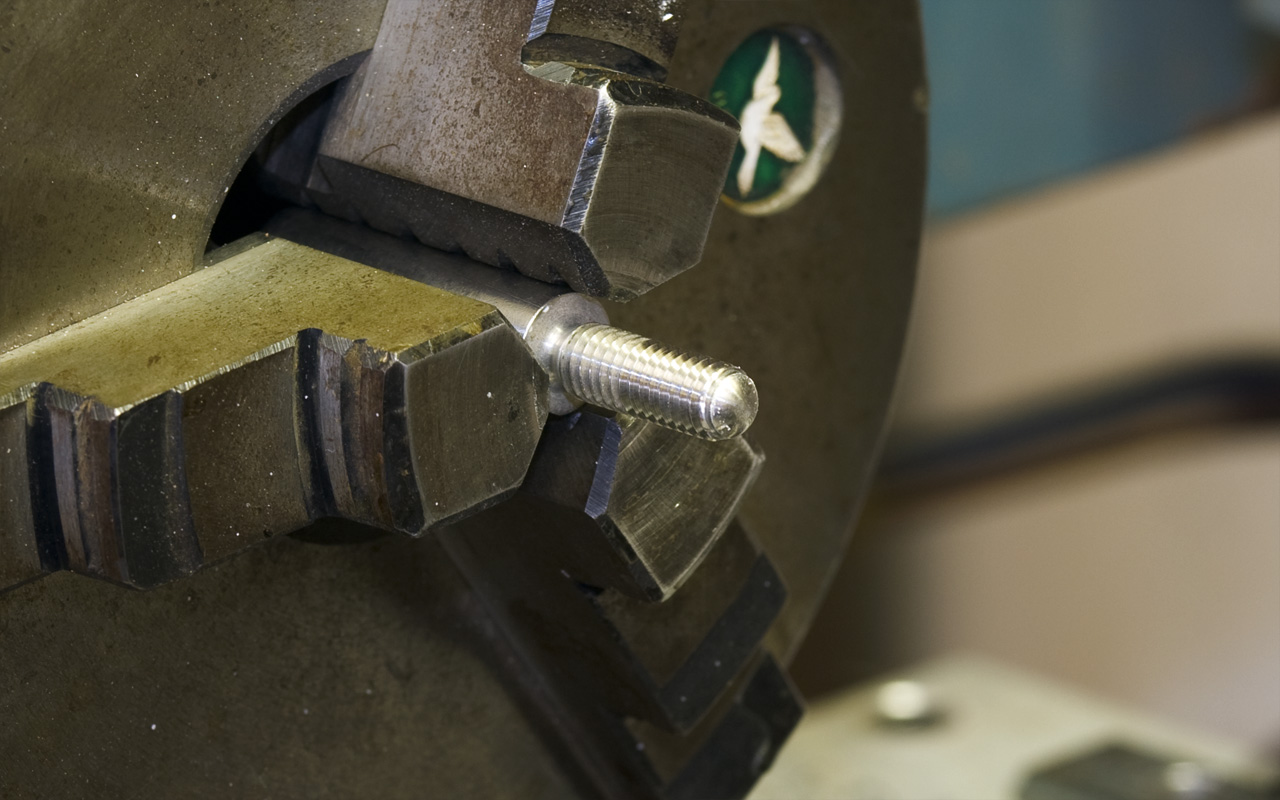
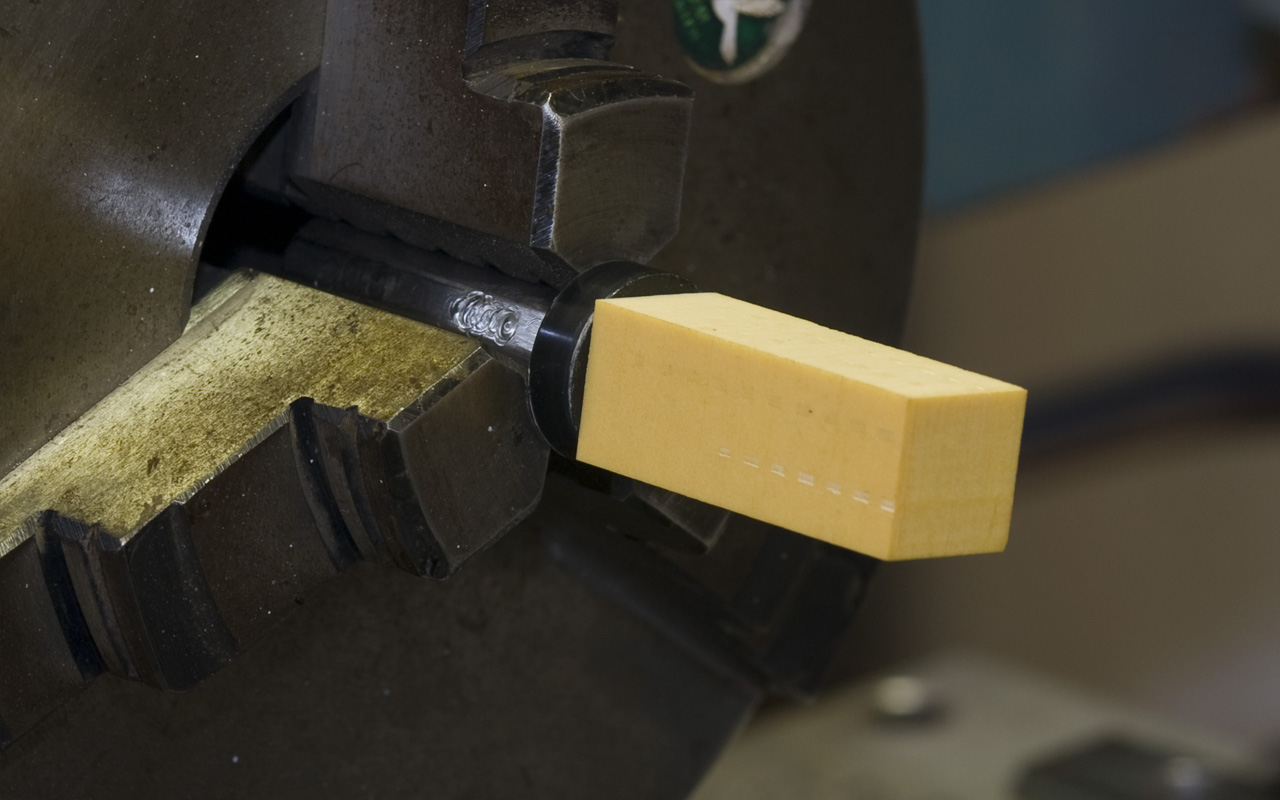
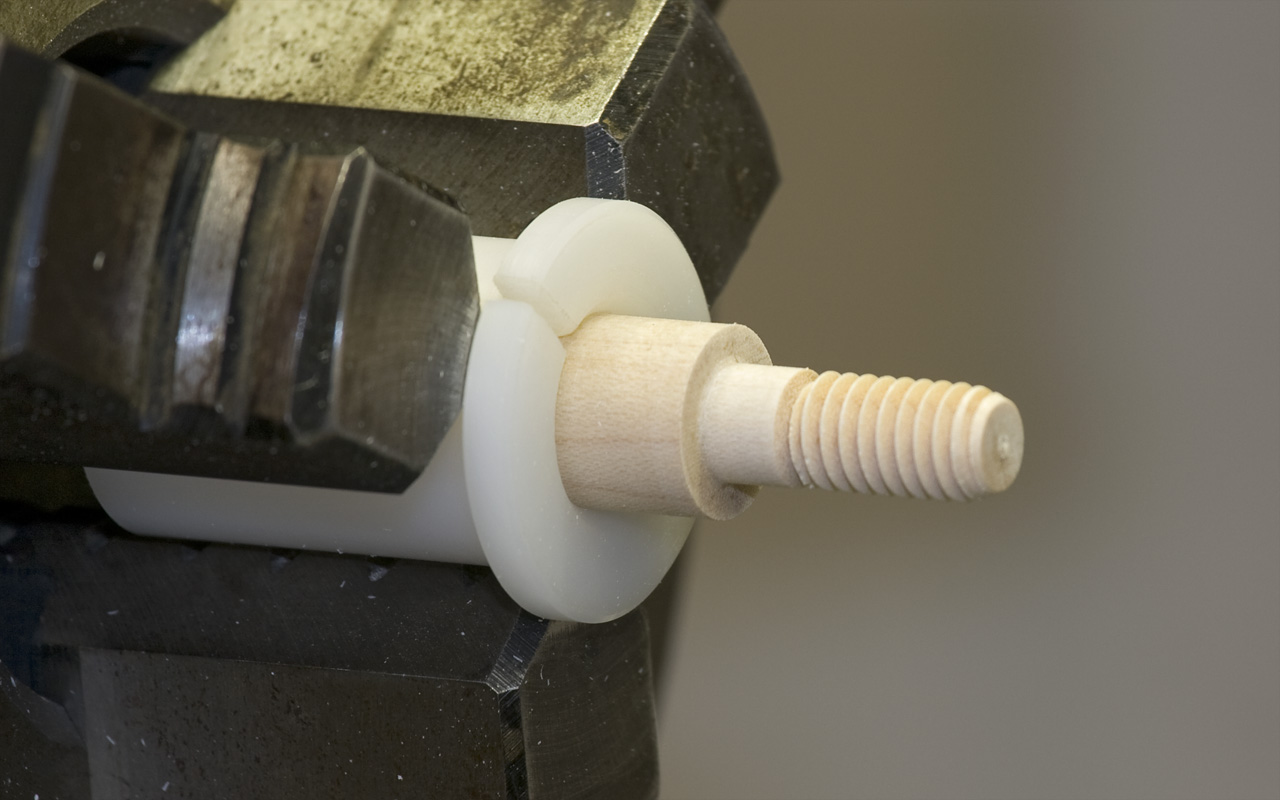
From the left, I have a 5/8" square chunk of Micarta indicated true in a 4 jaw chuck. Then I drill an "F" sized hole 7/8" deep followed by a 5/16" drill going 1/4" deep and a chamfer. This adds strength to the tenon and provides a register diameter to accurately locate the ferrule. Finally, I drill a 1/16" hole at the base - which will be the glue relief hole when the ferrule is finished. Now that the internals are finished, I switch to a 3 jaw chuck and mount a 5/16-18 arbor upon which the ferrule will be installed to allow machining the outside.
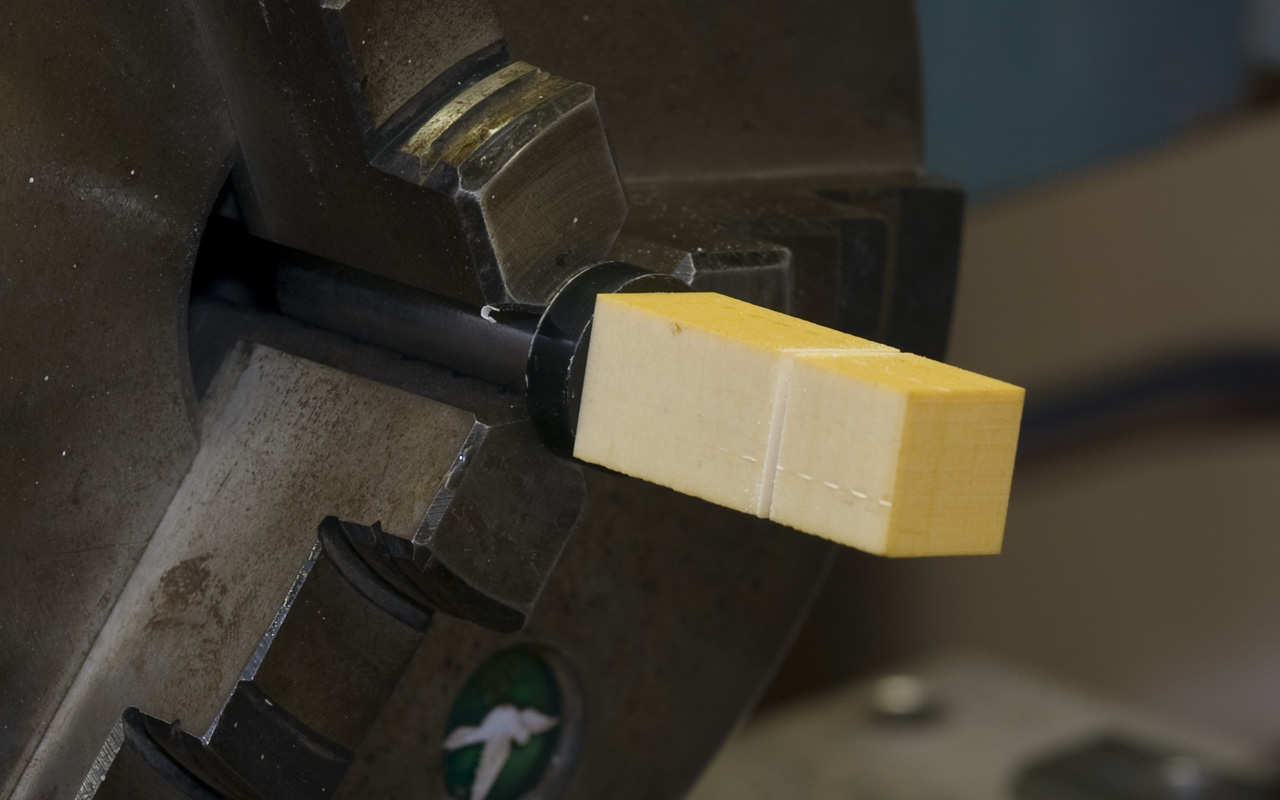

First, I install a cheap ABS backer whose only requirement is that it is parallel. Then the ferrule is screwed on until it bottoms out against the backer. Next, I part off the excess, leaving a ferrule that is just over an inch in length. You can now see the 1/16" glue relief hole that was previously drilled.

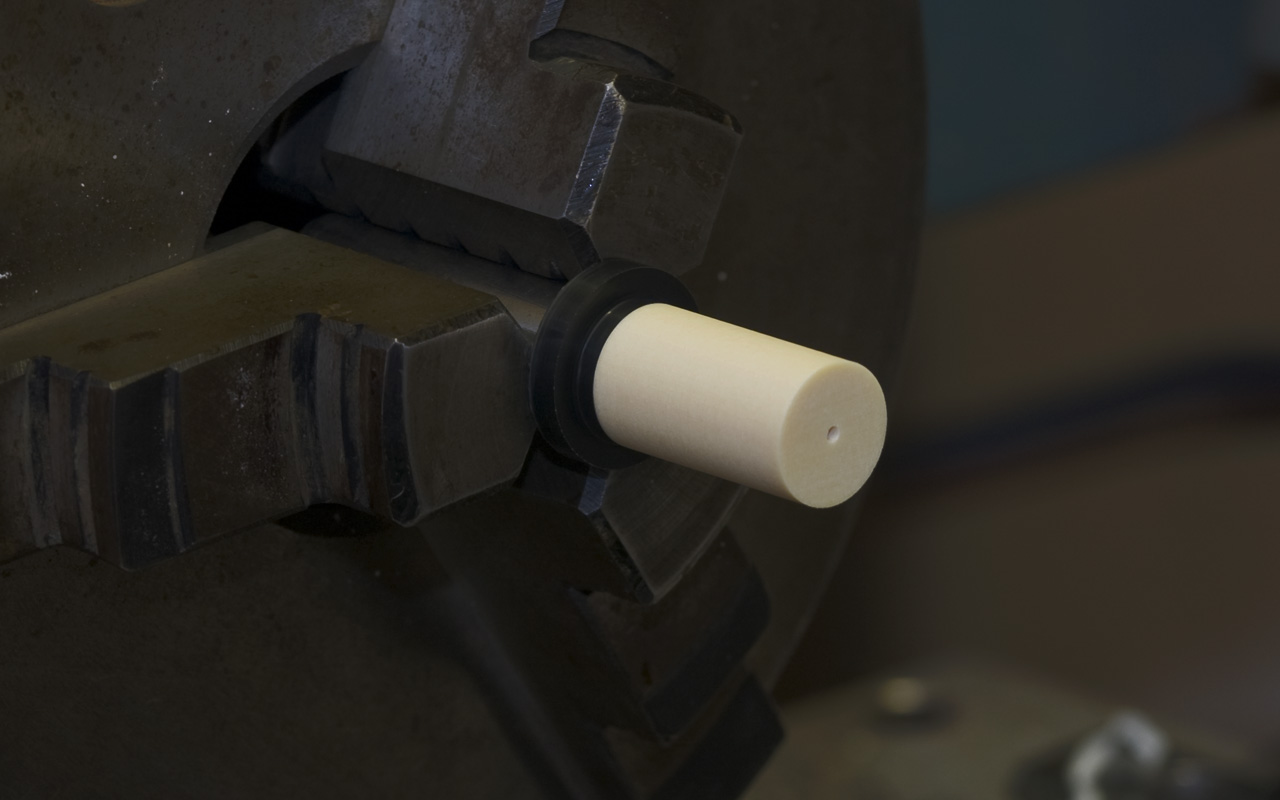
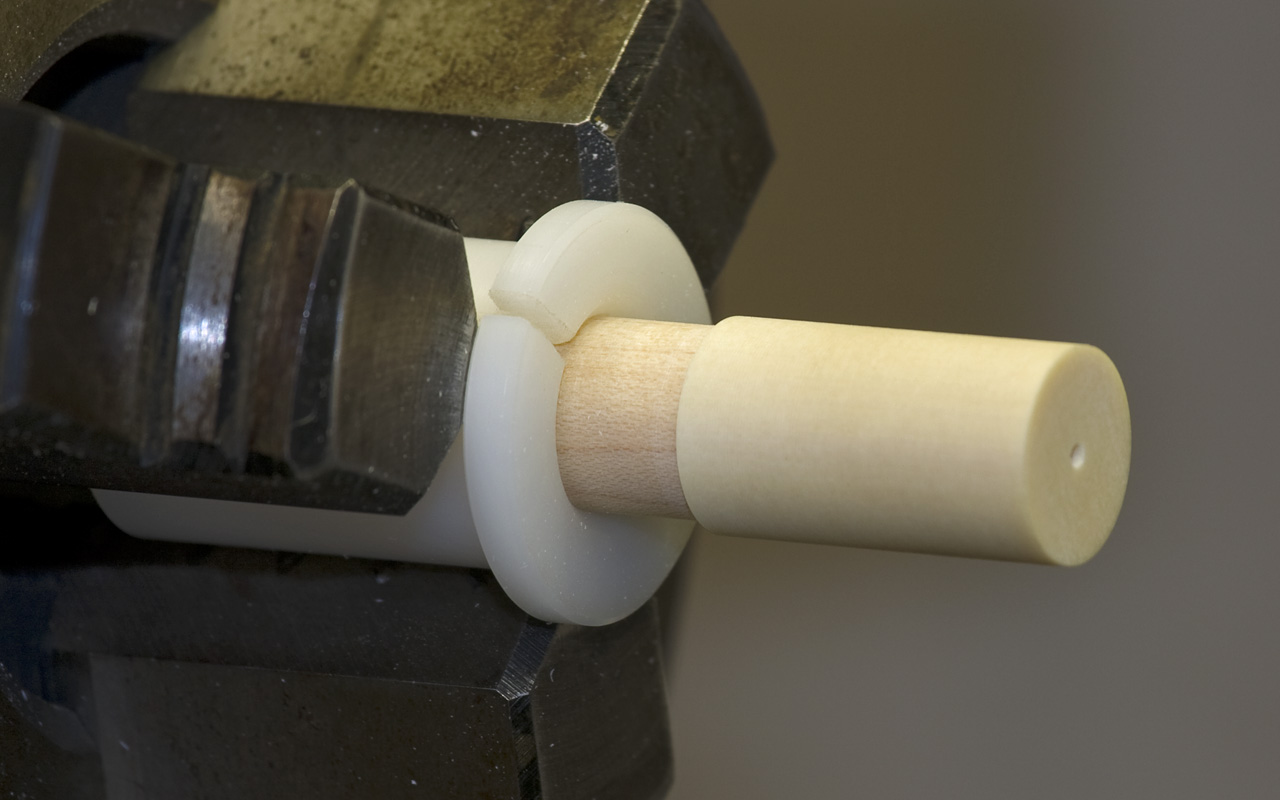
Now the outside diameter can be machined. The first pic shows it getting close. The final pic shows a finished ferrule blank. It is now 9/16" diameter and ready to be installed on a shaft.
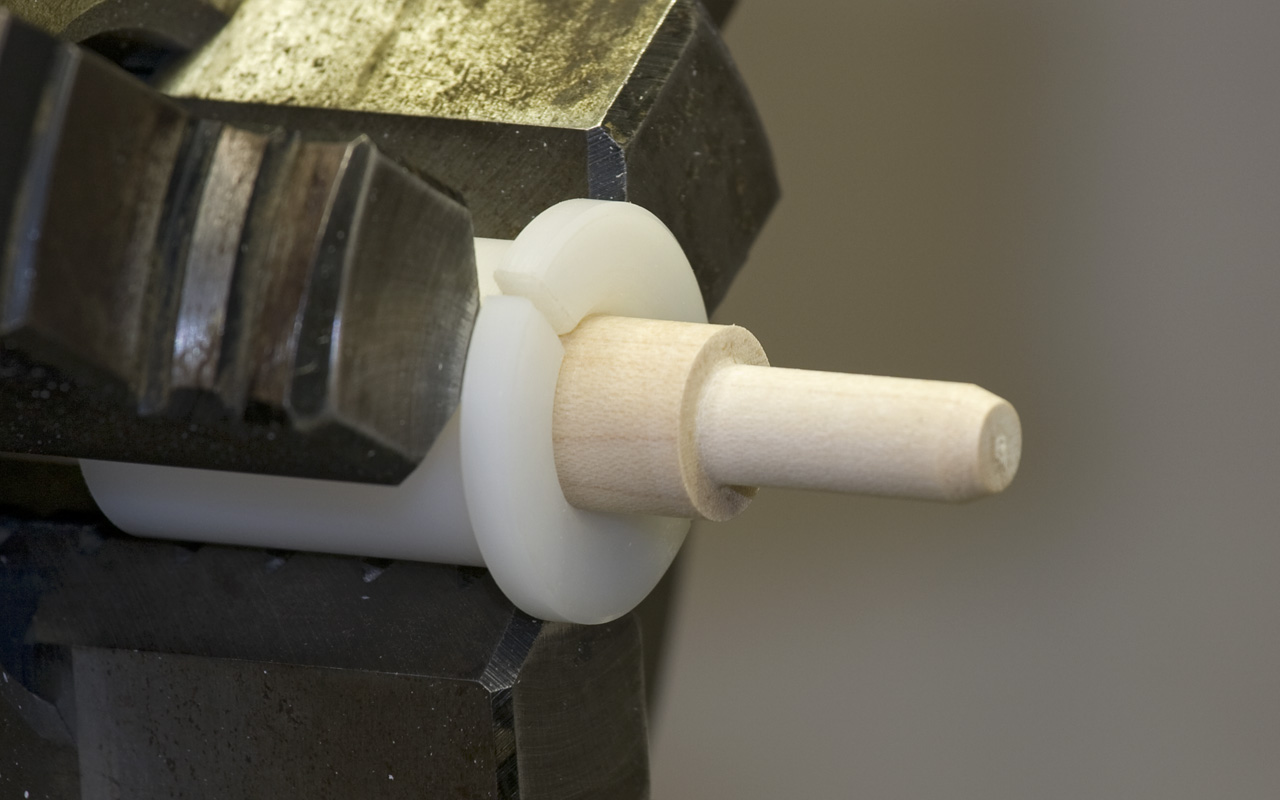
The tenon can now be turned down & chamfered. Threads are cut with live tooling to within 1/4" of the shoulder. Make a trial fit of your ferrule & you're ready to glue it on. Again, thanks to Josh Robinson for providing the material.