4th axis wrapped inlay test
This was a rushed attempt to install a 4th axis wrapped inlay. In my haste, I made a rookie mistake but at least proved that I was on the right track. It's how I learn new things :-)
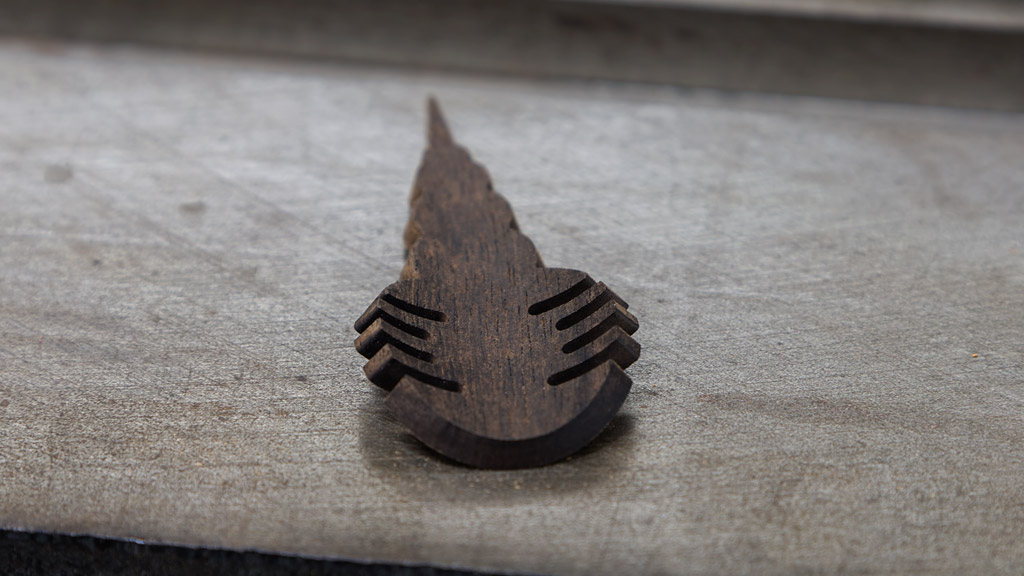
Here's the sample inlay I made. Nothing special about it but I wanted to install a 1" wide inlay in a buttsleeve while using a 1/32" diameter cutter. The mistake I made was in my setup: I neglected to level my indexing station, which is similar to a long sine bar and can be set at an angle. Well, it WAS set at an angle & I didn't notice until too late & I was completely finished. This threw off my Z heights because I set the Z at random locations, not realizing that the top surface wasn't level. Guess what? Your Z heights are critical.

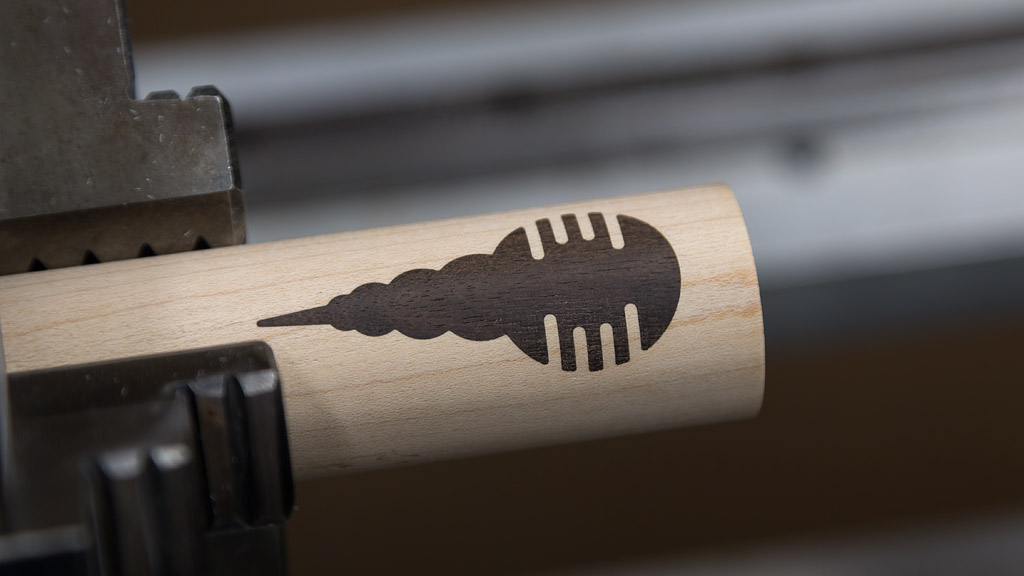
Here's a look at the 2nd pocket (there's one with some other mistake 180° opposite). Also, a look at the inlay installed in the pocket & turned flush. I knew something was wrong when I installed it but still hadn't noticed the indexer wasn't level. I figured it was me. Well, yeah, it was me but it wasn't what I thought.
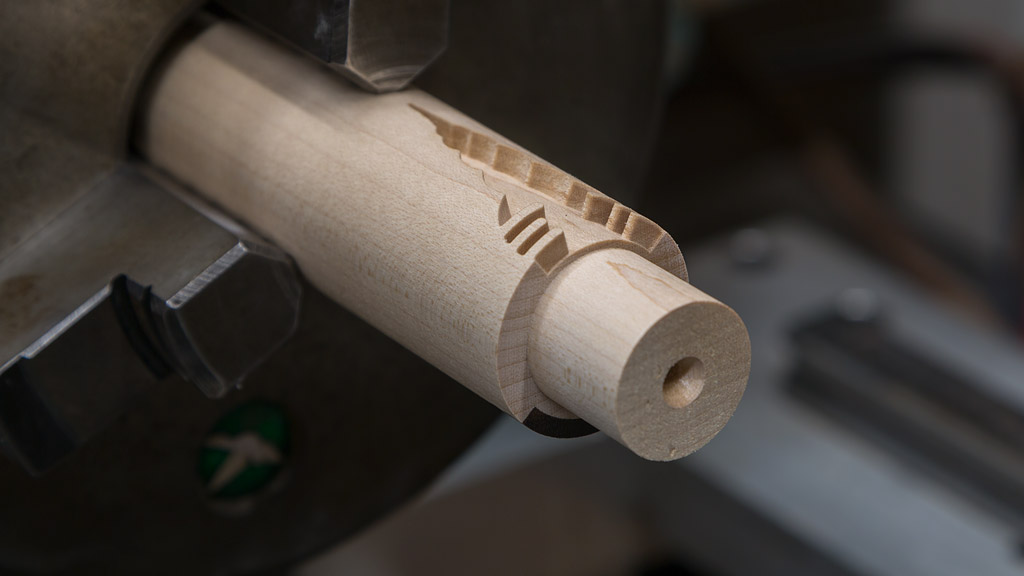
Afterwards, I cut away some of the wood so I would have a cross-section view of my work. You can easily see the rounded pocket for the inlay. This shows the advantages of installing an inlay this way: you can make the inlay nice & wide while not exceeding the depth-of-cut limitations of a smaller diameter cutter. Yes, there are other limitations because of the sides being tapered in only one axis but that's a topic for anther time.
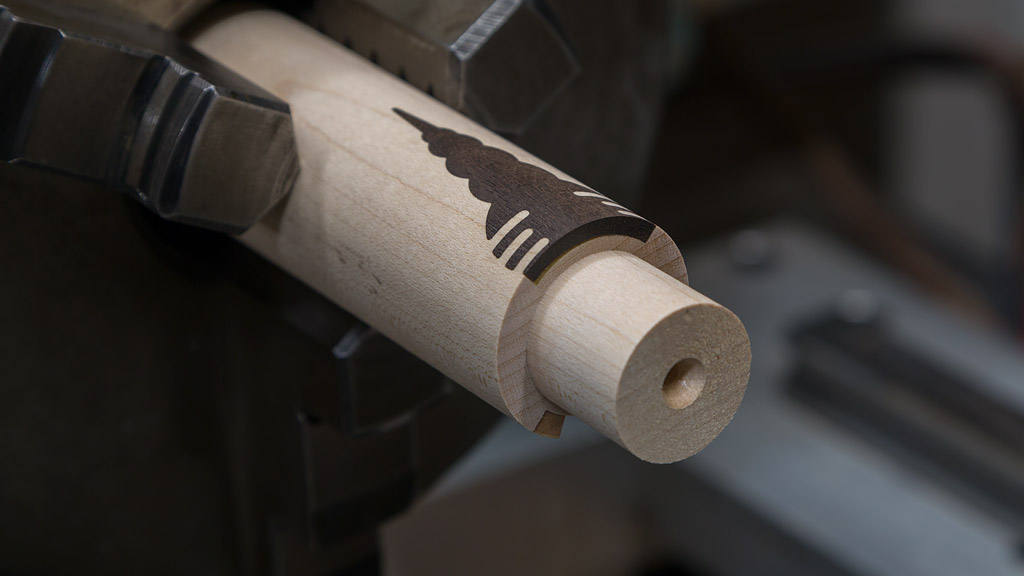
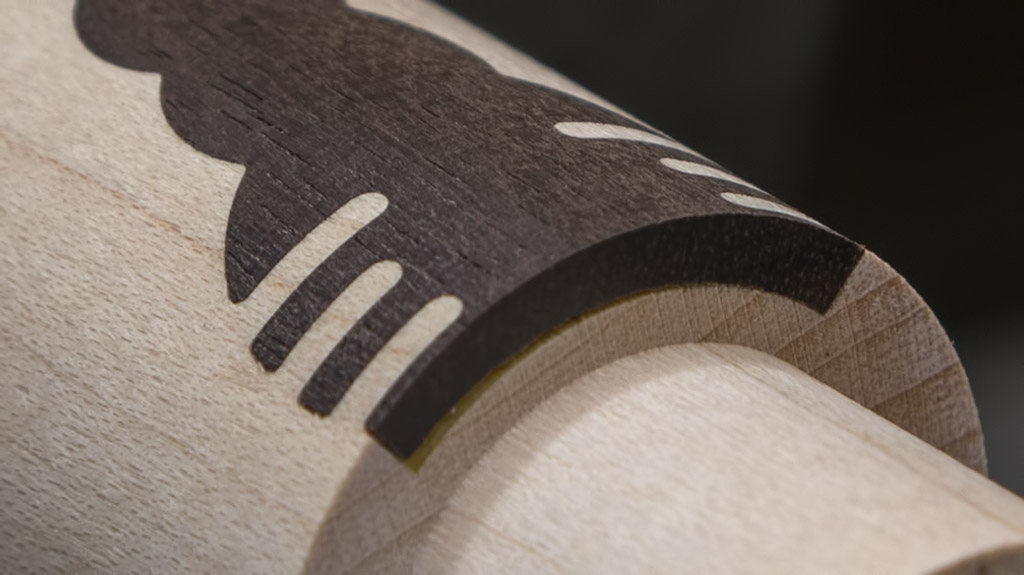
Here you can see that the inlay hadn't seated properly in the pocket. This is directly attributable to the Z height errors I incurred in my wonky setup. That said, I'm anxious to get an opportunity to try this again, only doing it correctly. I think I have a handle on it now but I've been wrong before. Still...it was fun!