Hardinge Lathe Dials
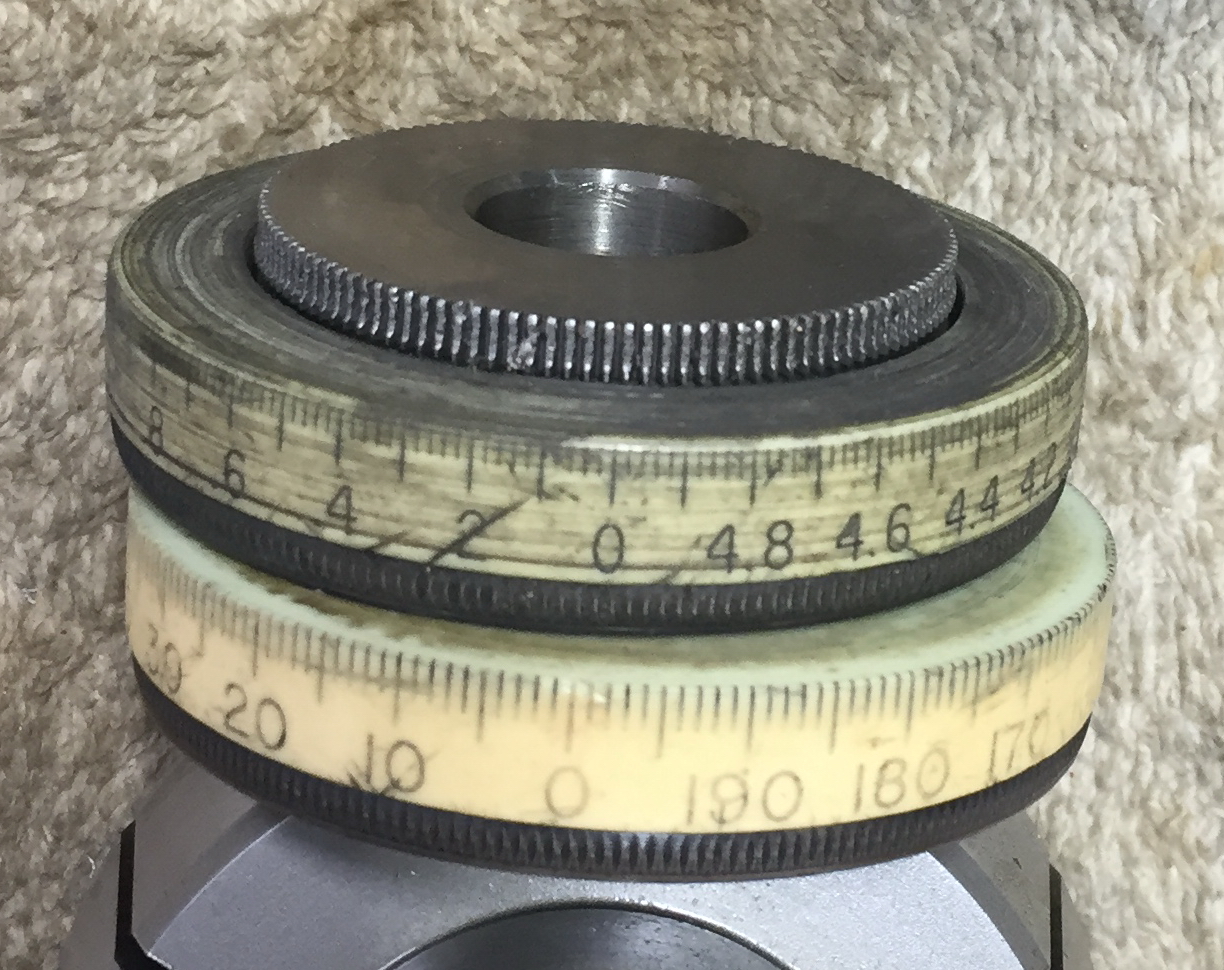
A customer wanted to replace the dials on the Hardinge lathe he is rebuilding. This is what one set looks like now.
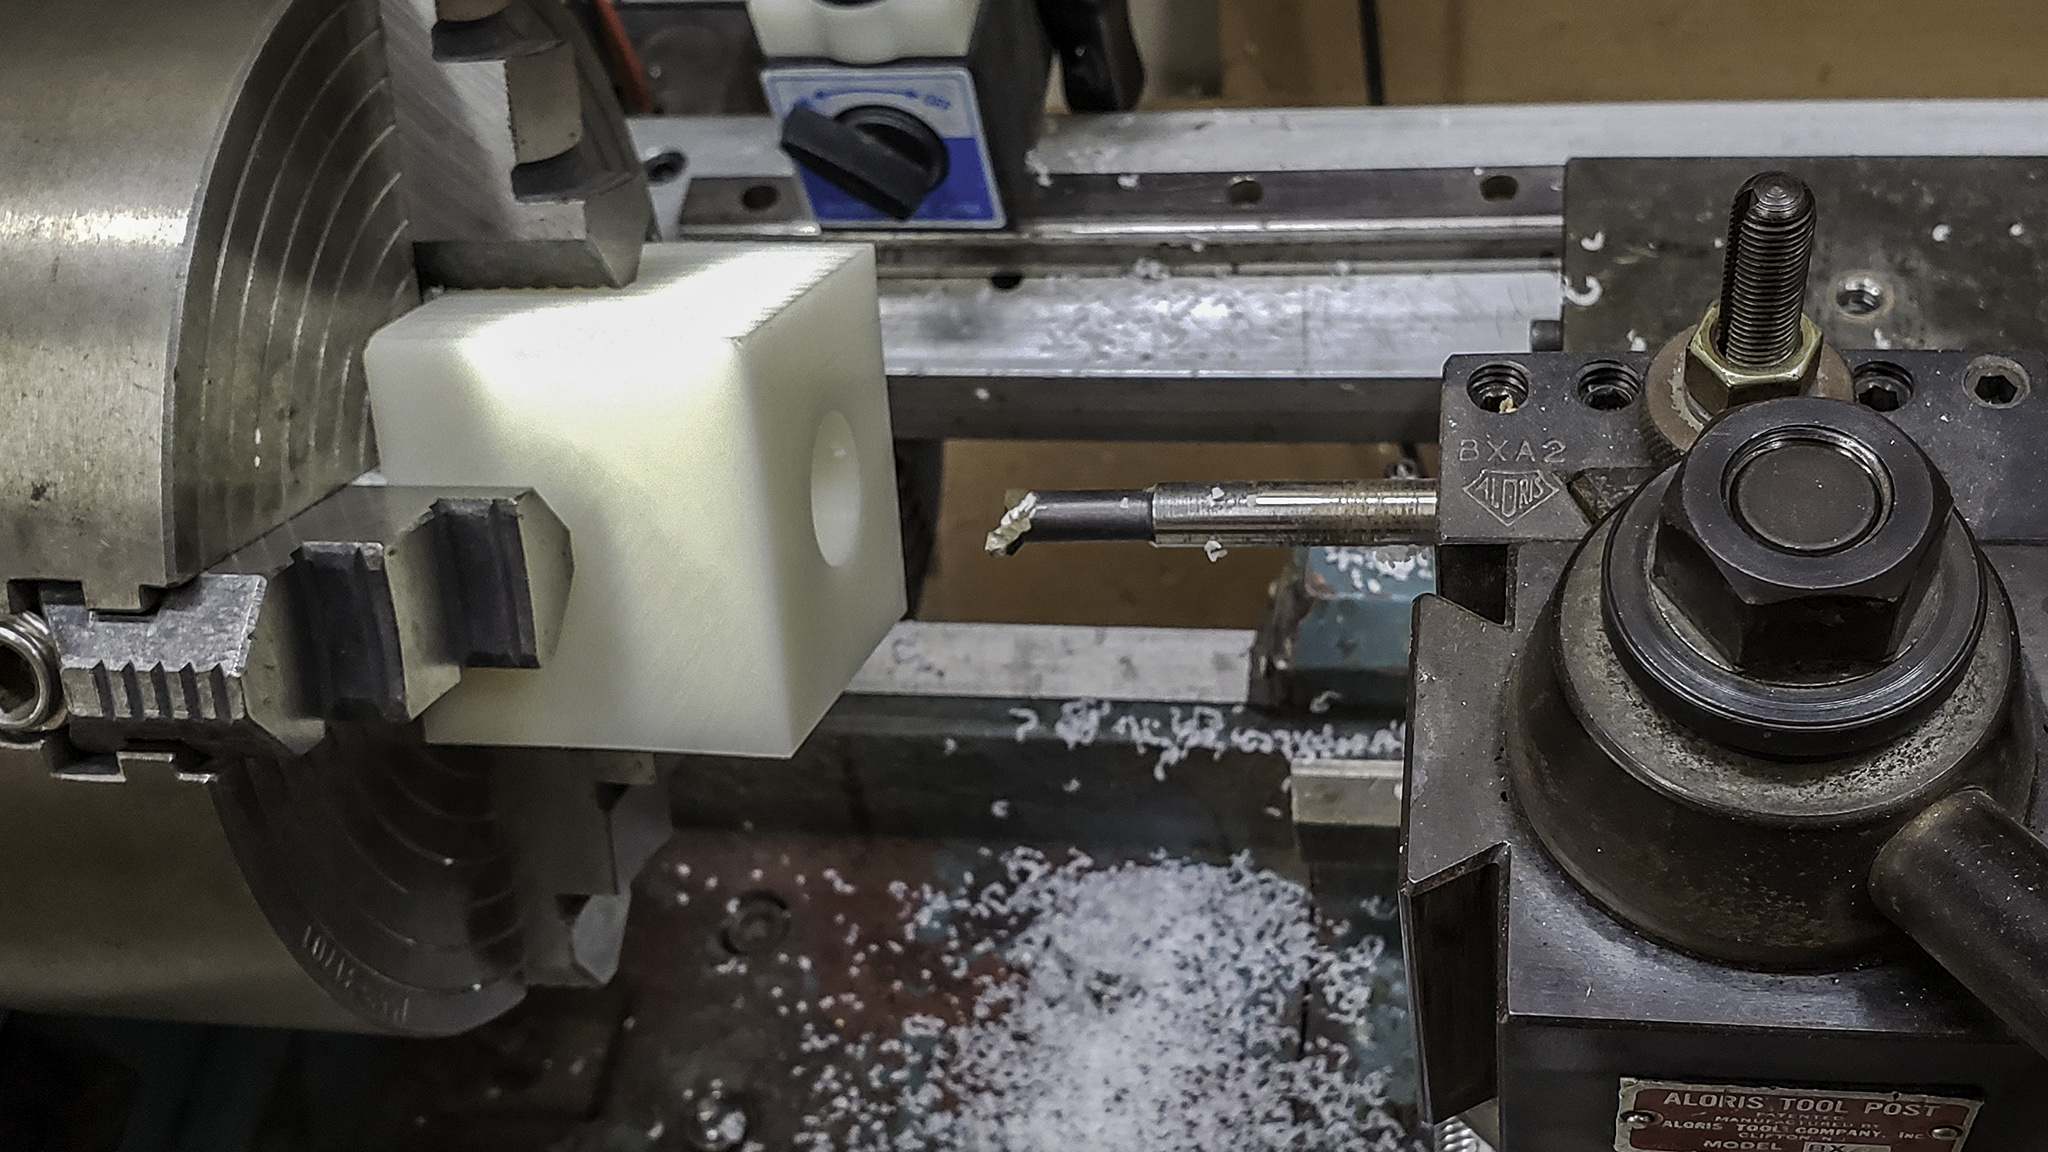
I had a scrap of Delrin that was just big enough to do a set of two dials:
one with Imperial graduations and the other with Metric graduations.
These are the sketches I made for the Imperial dial. The first shows what I needed to calculate the spacing, stock size, cutter over-run, etc. The second shows the actual geometry to be machined that would be wrapped about the diameter of the dial. Notice how the "0" is split in half and is, in fact, machined as two entities rather than a single digit. The first time I did this, I was concerned that things would not line up but, even upon close inspection, one cannot tell that this was the case. The third picture shows a simulation of how the final result would look.
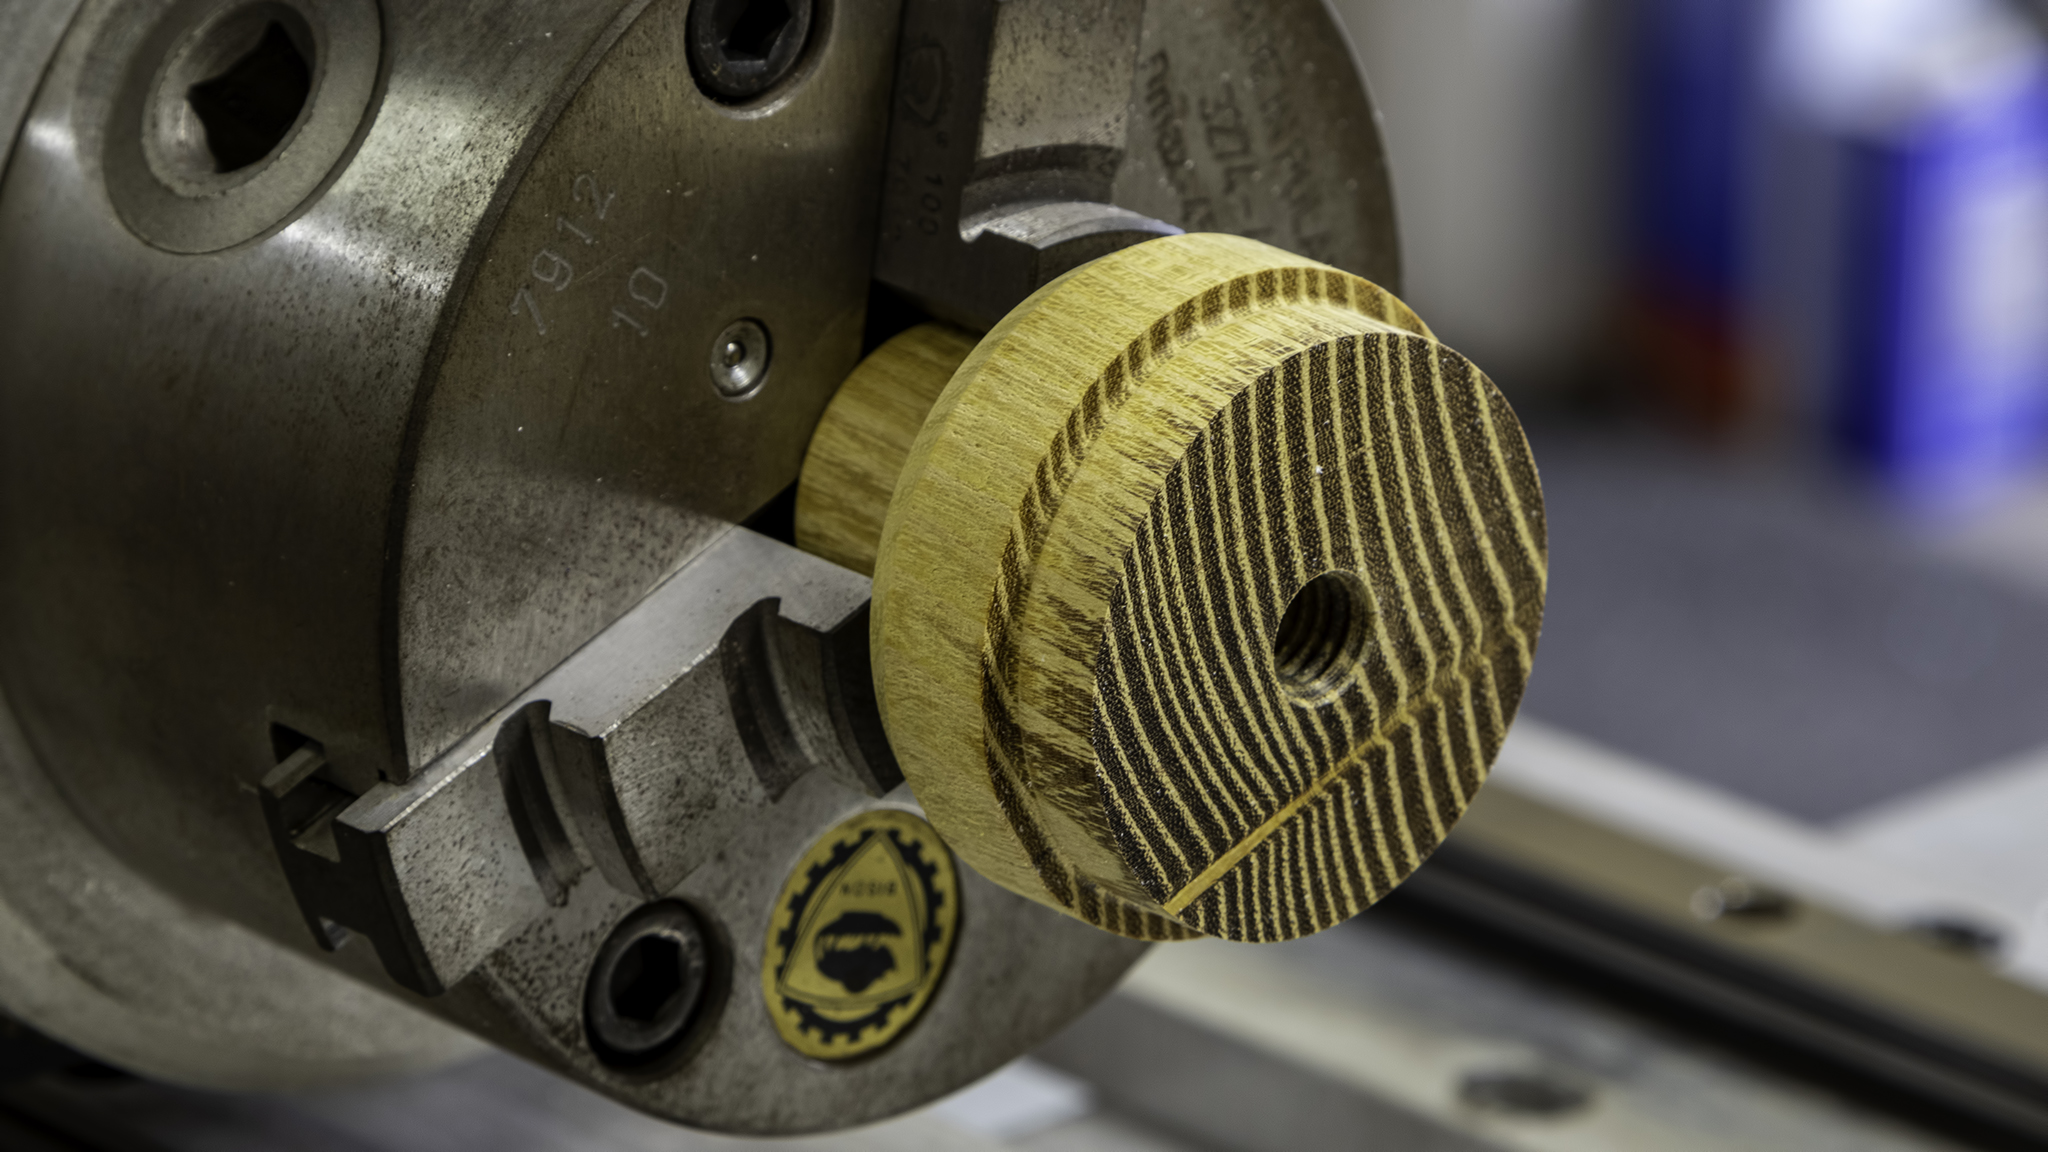
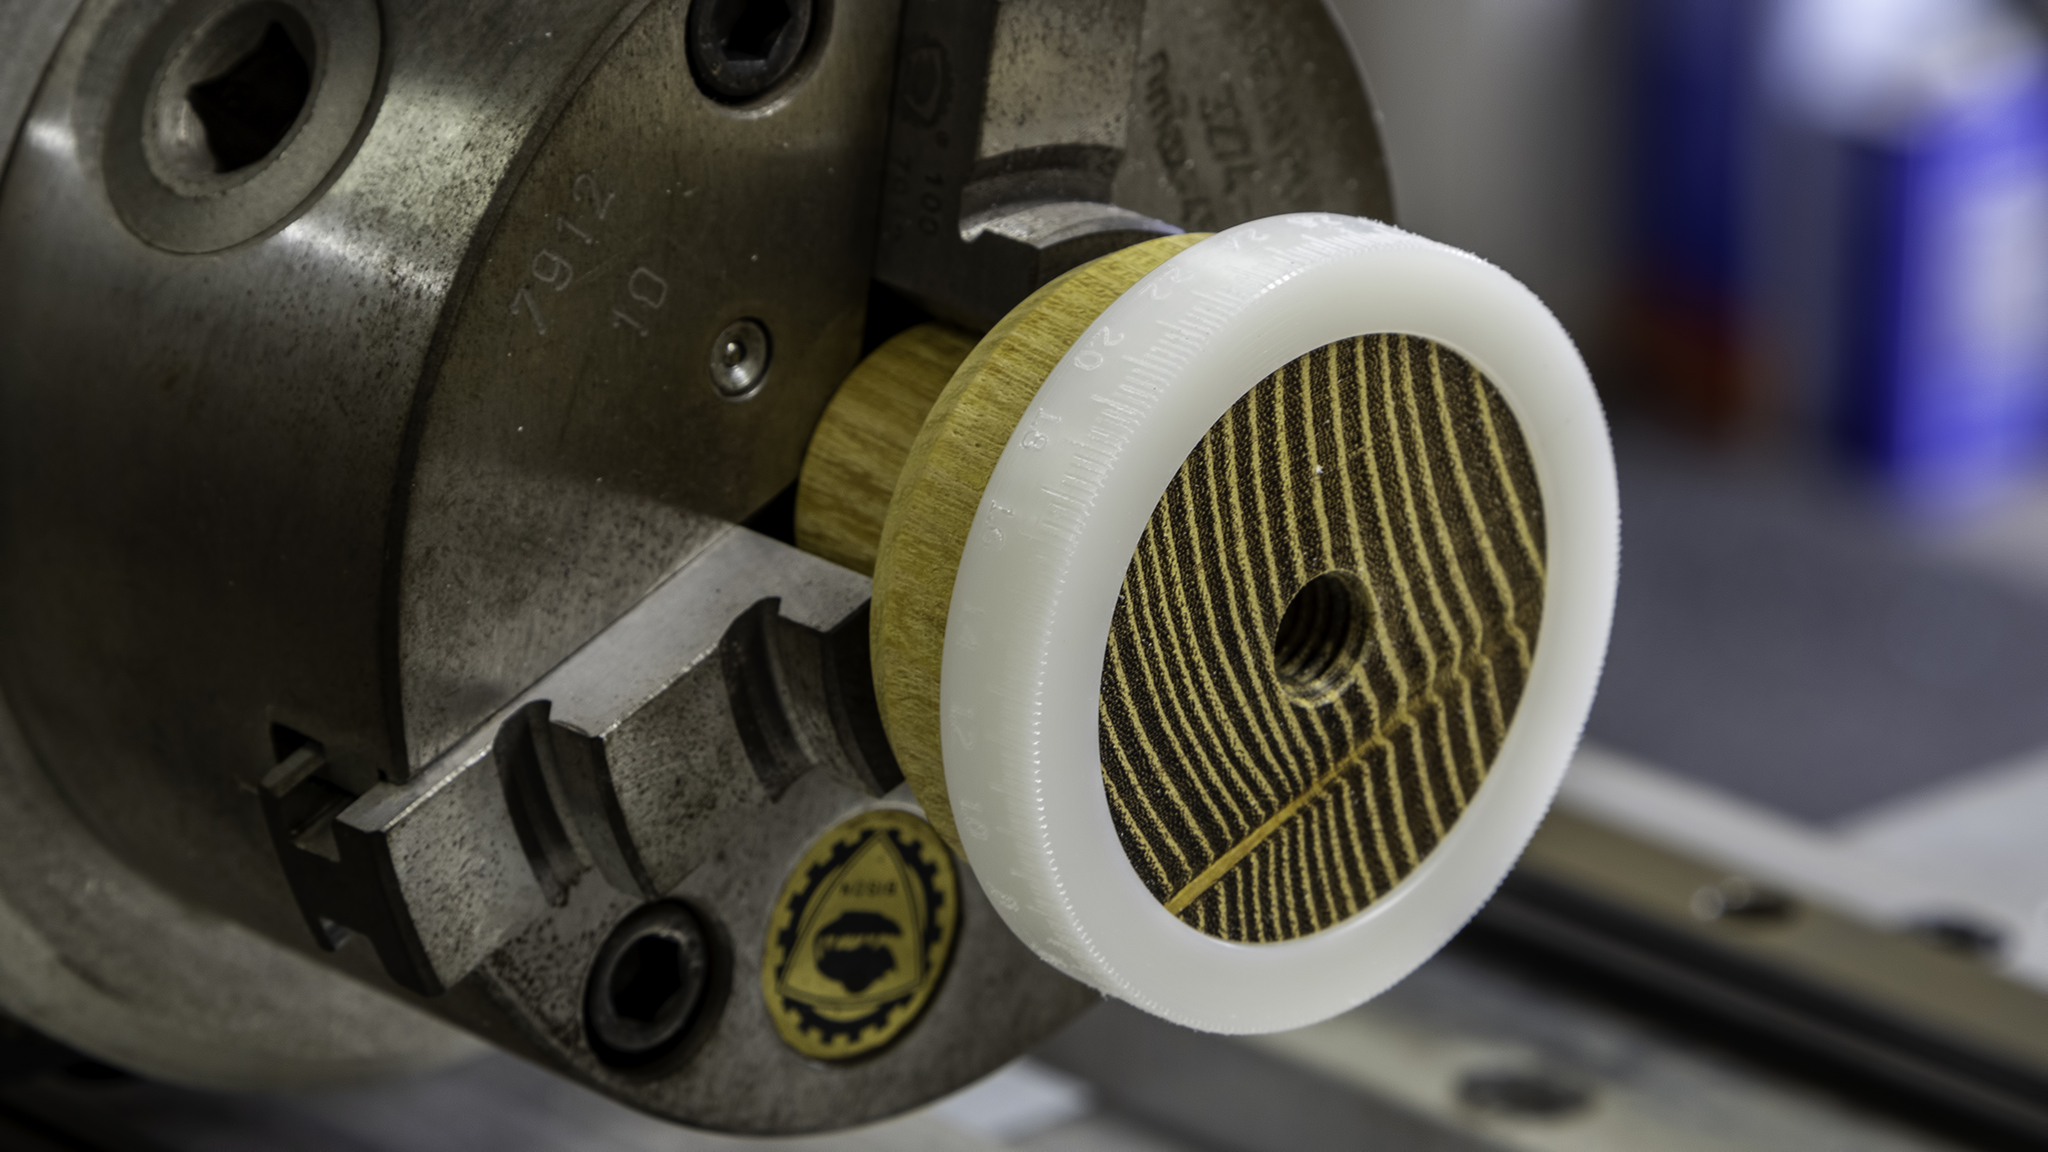
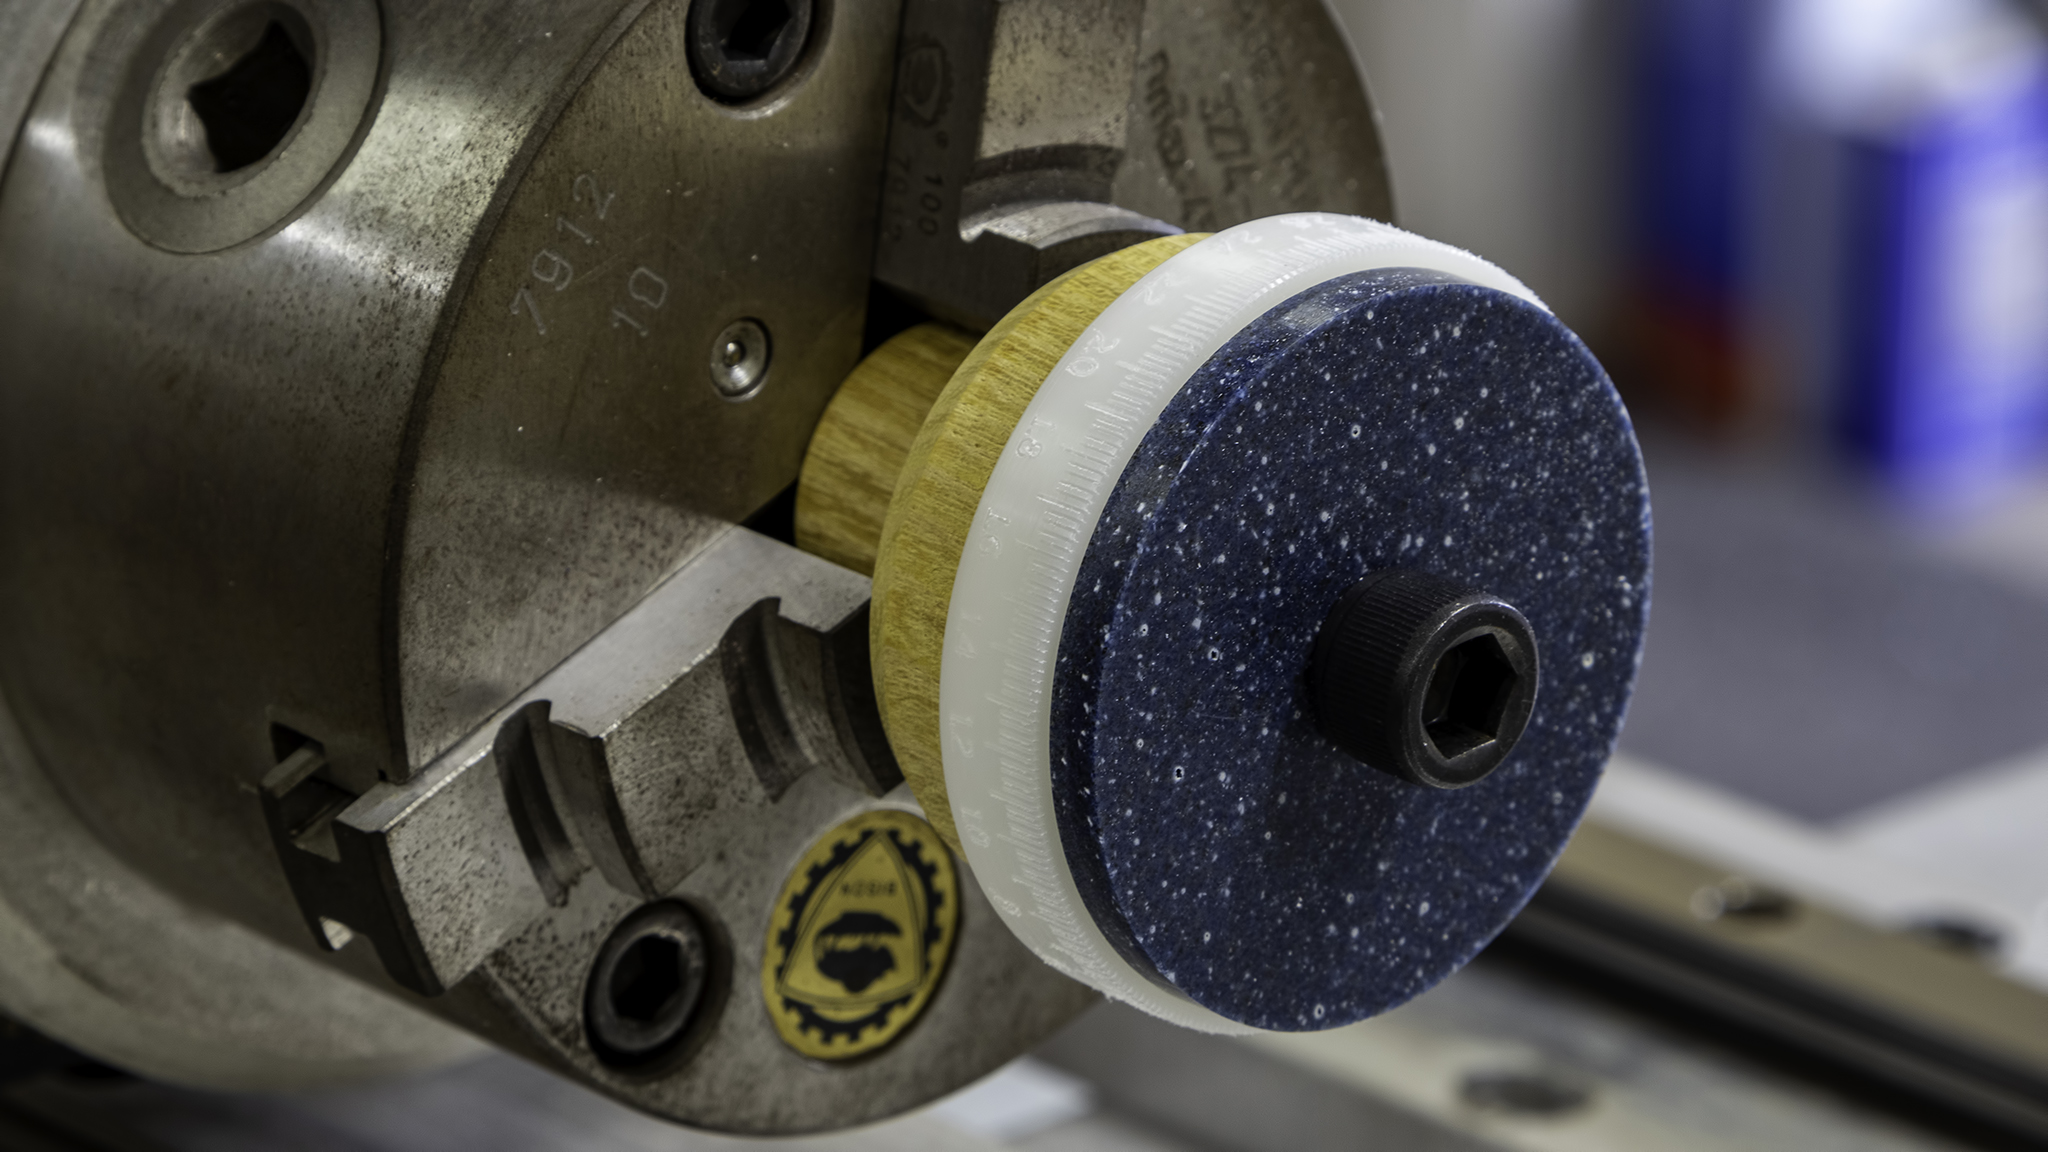
I made an arbor to hold the dials securely while being machined. The 3 jaw is chucked on a smaller diameter of the arbor. A closely fitting register diameter with a 1/8" shoulder will accurately locate the dial. A tapped hole in the Osage Orange arbor permits me to secure the dial with a Corian cap.
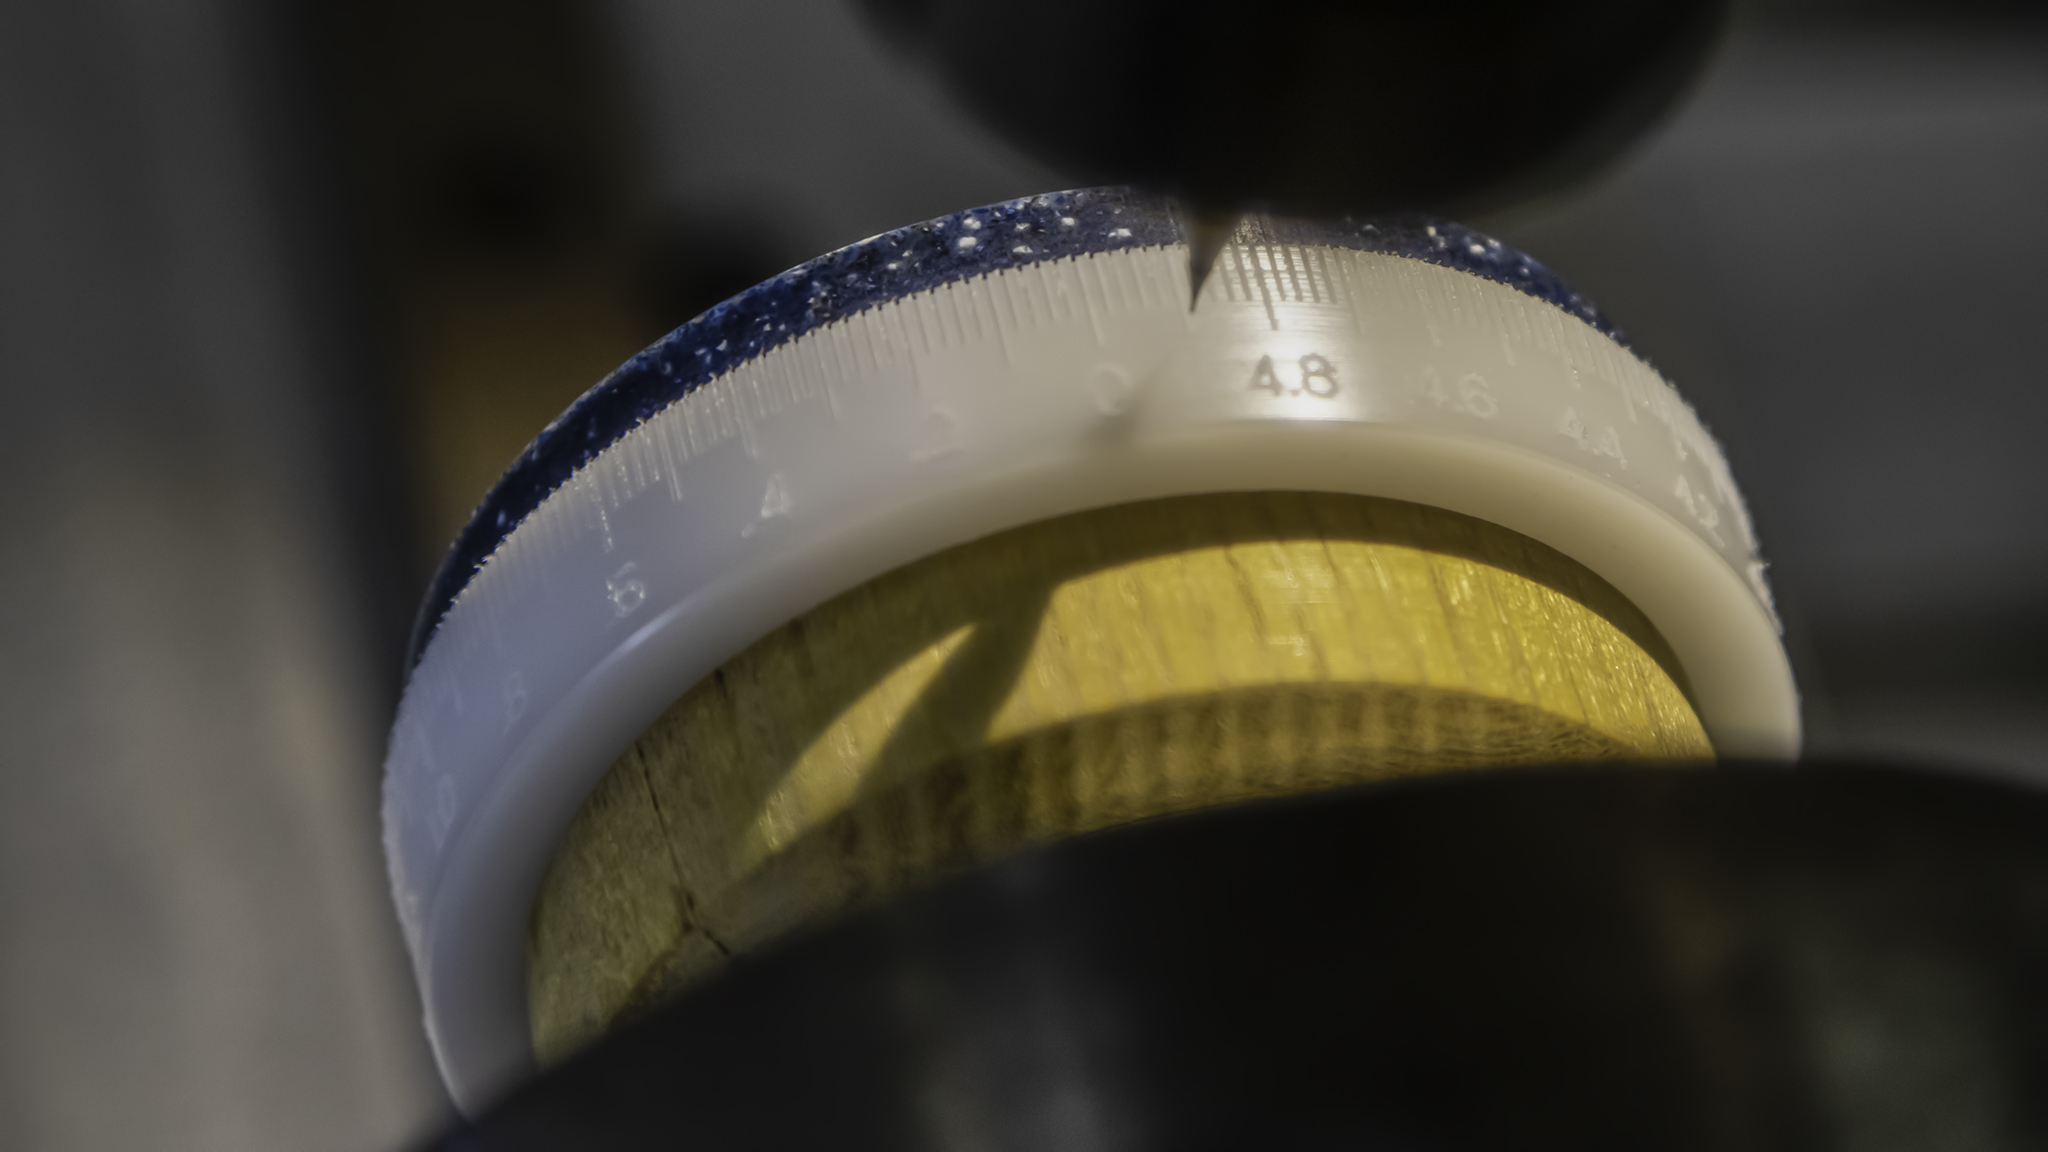
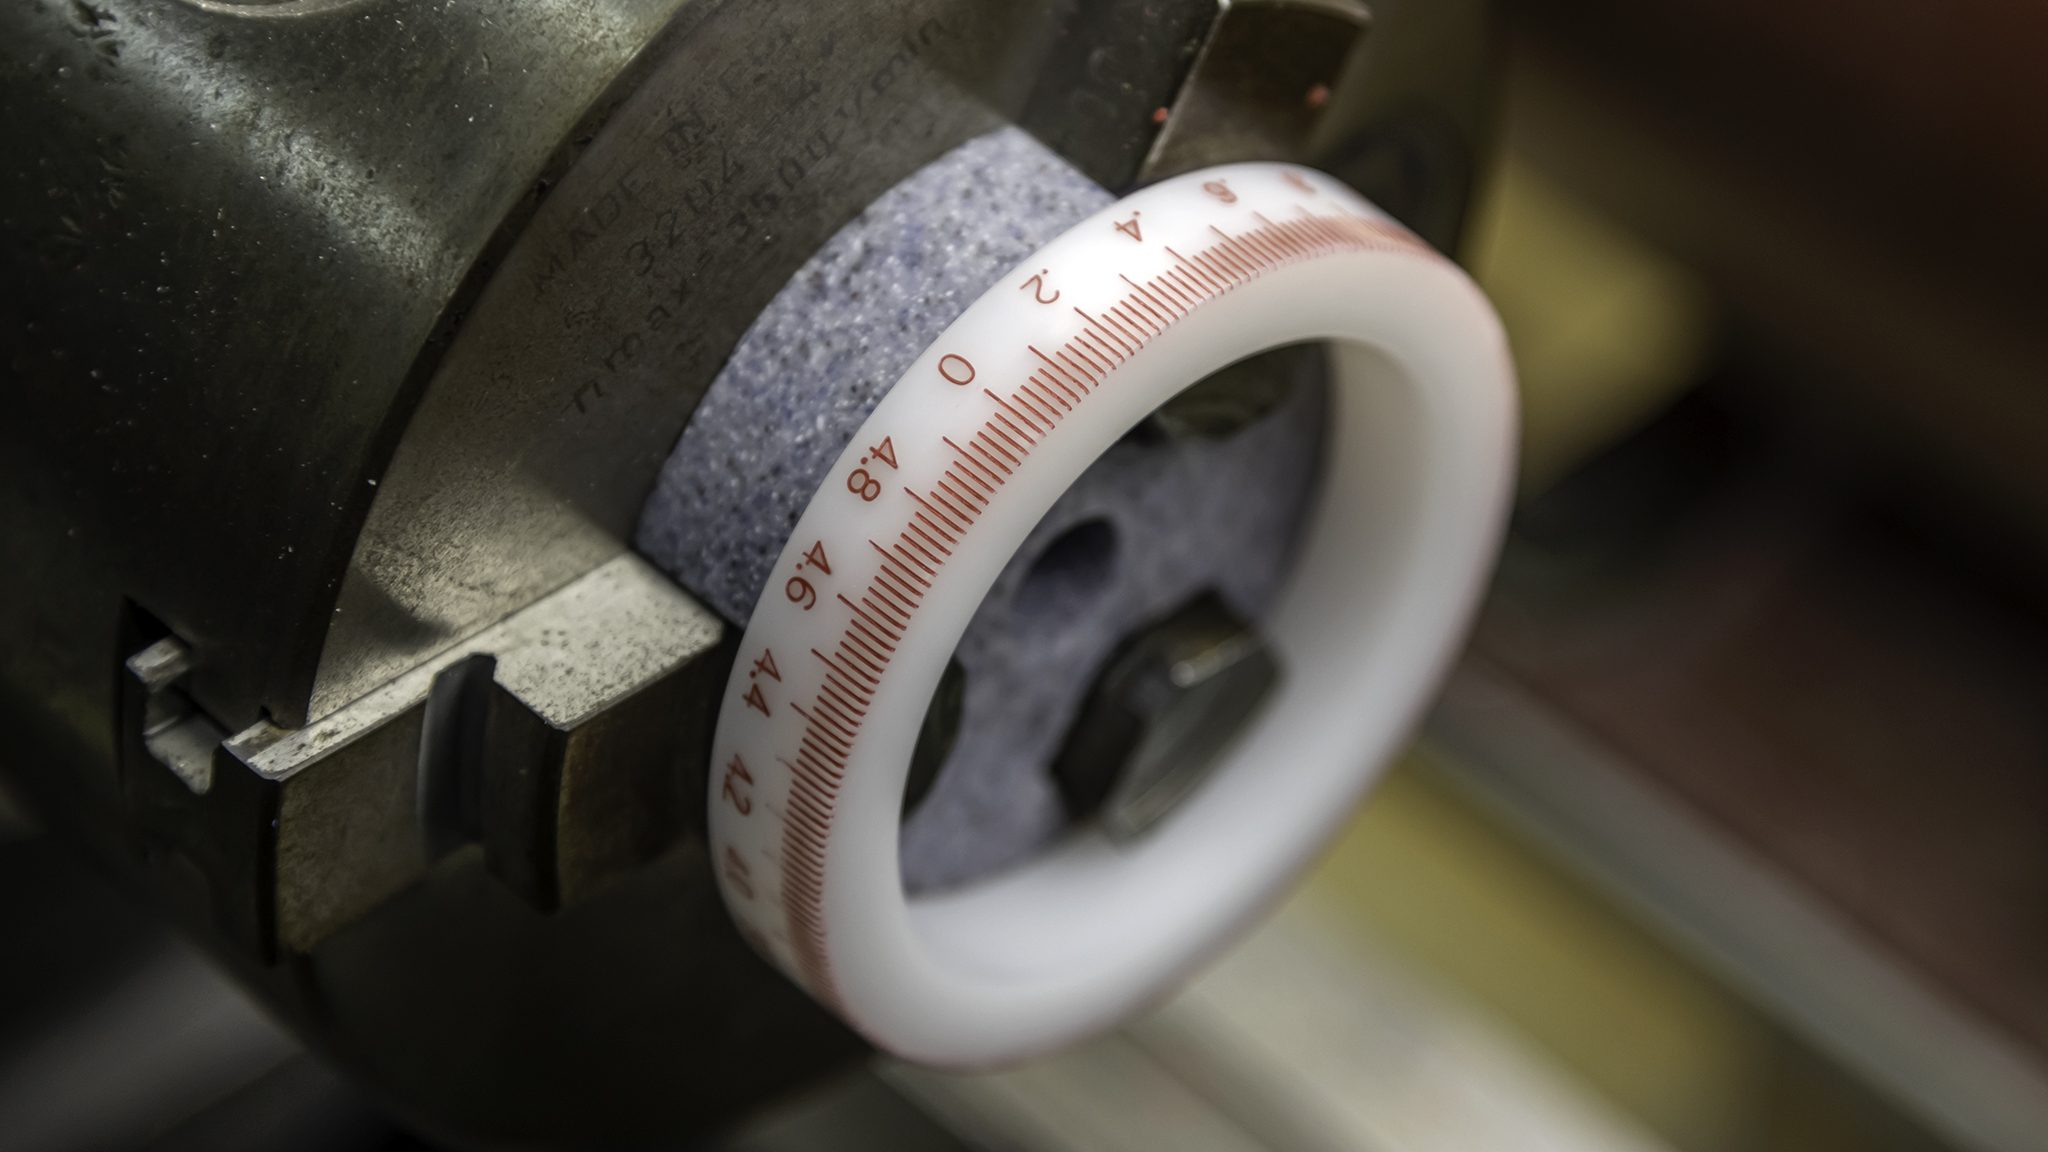
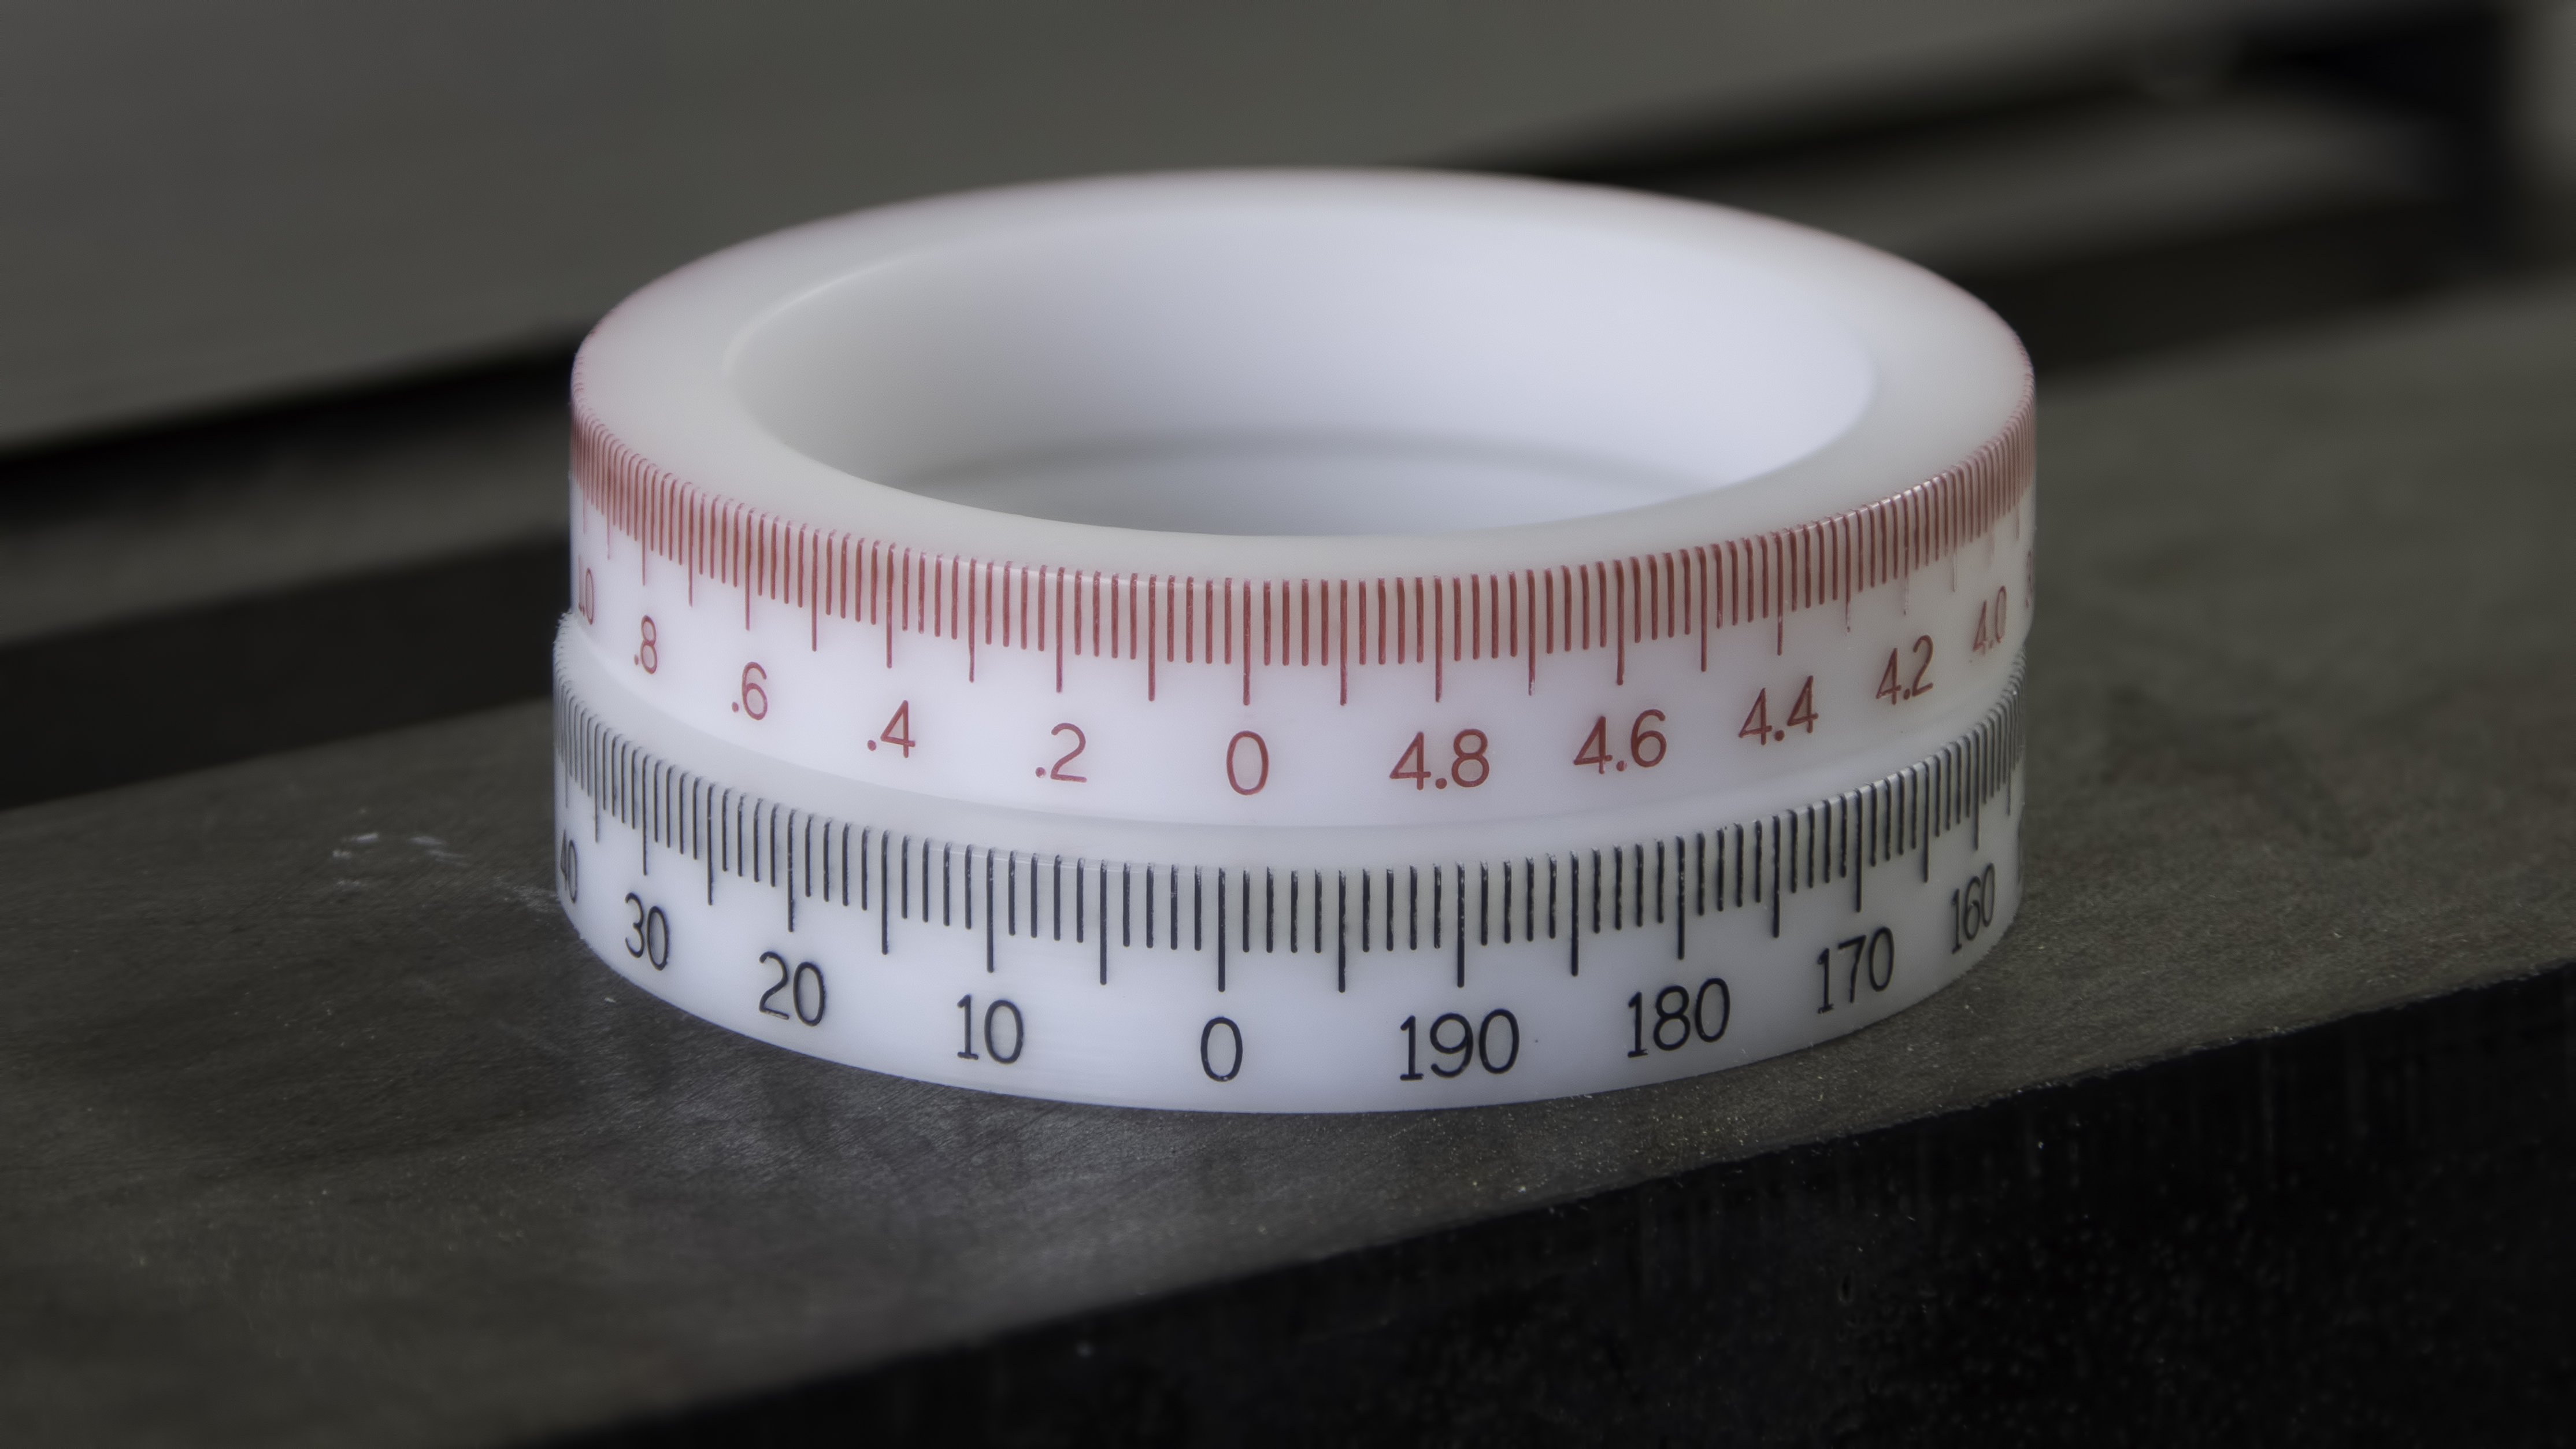
Pic #1 shows a birdseye view of a dial while it's being engraved. The next picture shows the dial having a crayon rubbed into the engraving. The simple spacer behind the dial allows me to chuck up on just 1/8" of the dial. This spacer comes in handy when machining trim rings, joint collars, etc. And finally, a look at one finished set of dials.
Click to see a video that shows some of this in action.